How to Create & Manage Projects on QRCodeDynamic
Creating and managing projects allows you to organize your QR codes and make updates as needed.
You can easily create new projects and efficiently manage them using QRCodeDynamic. Discover the step-by-step instructions below to create and manage projects effectively.
Step 1: Sign in to your QR Code Dynamic account and go to the “Dashboard”

Step 2: Click “Projects” from the left side
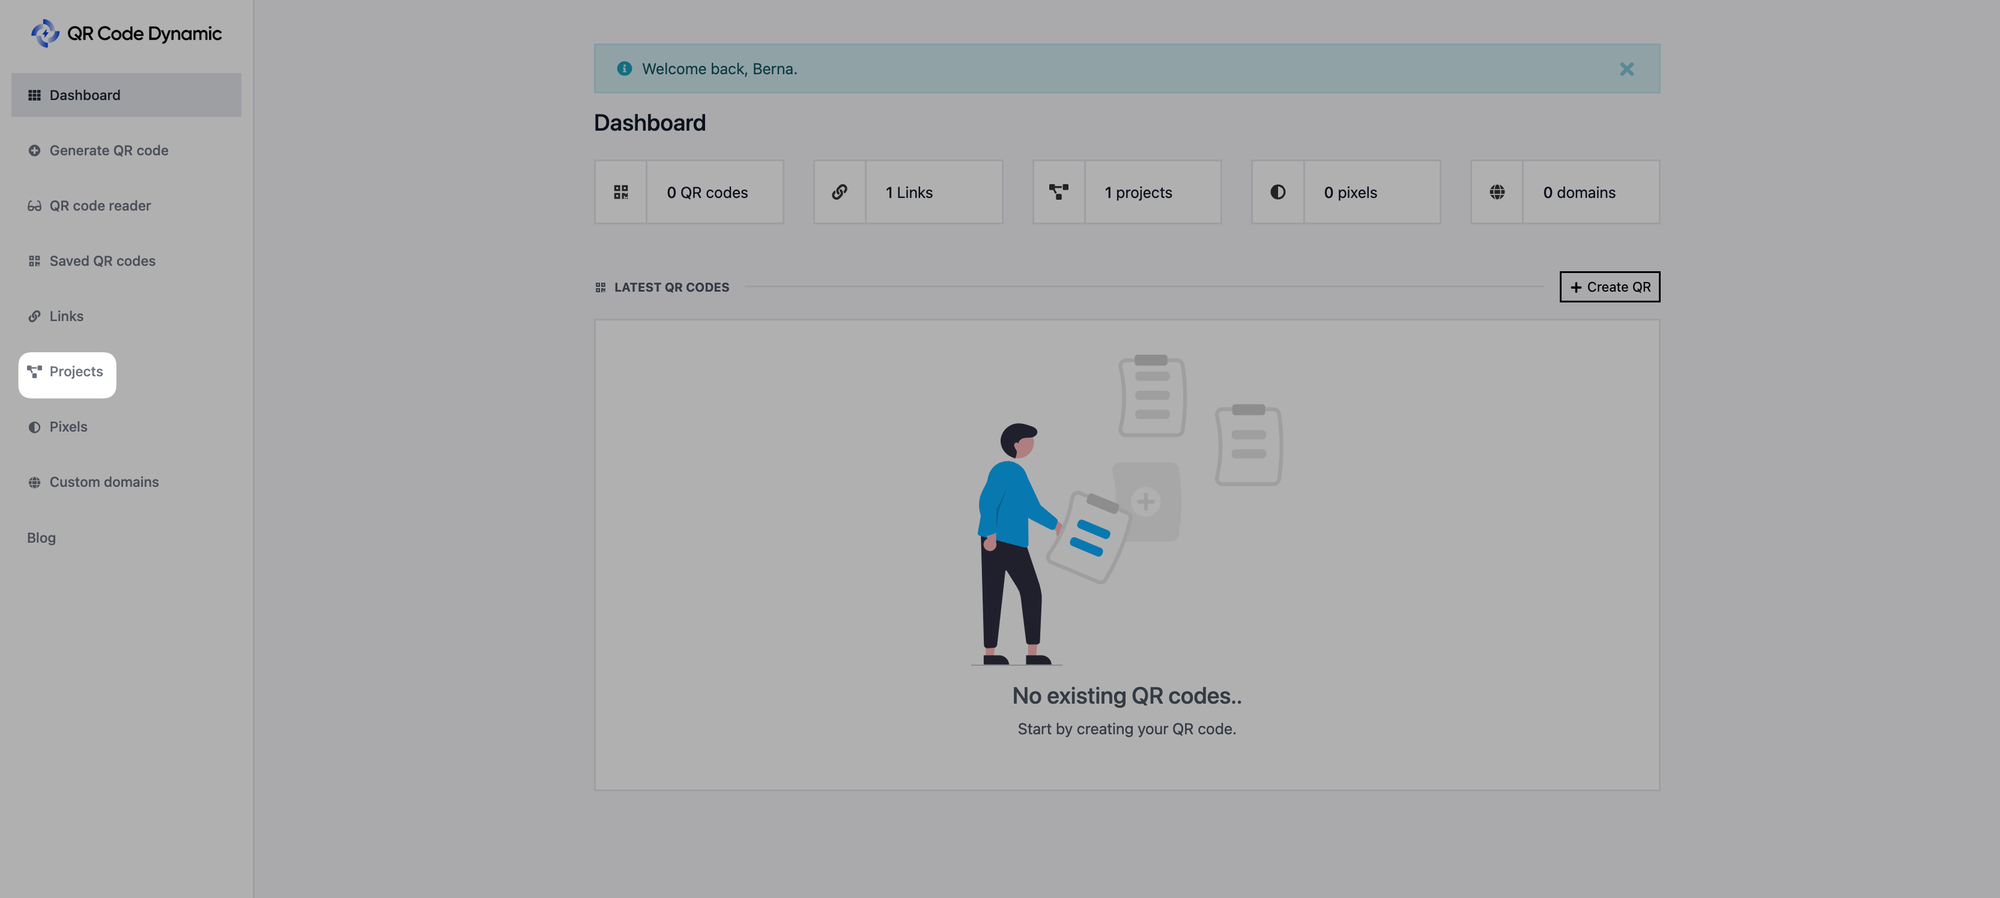
From your dashboard, go to the “Projects” page.
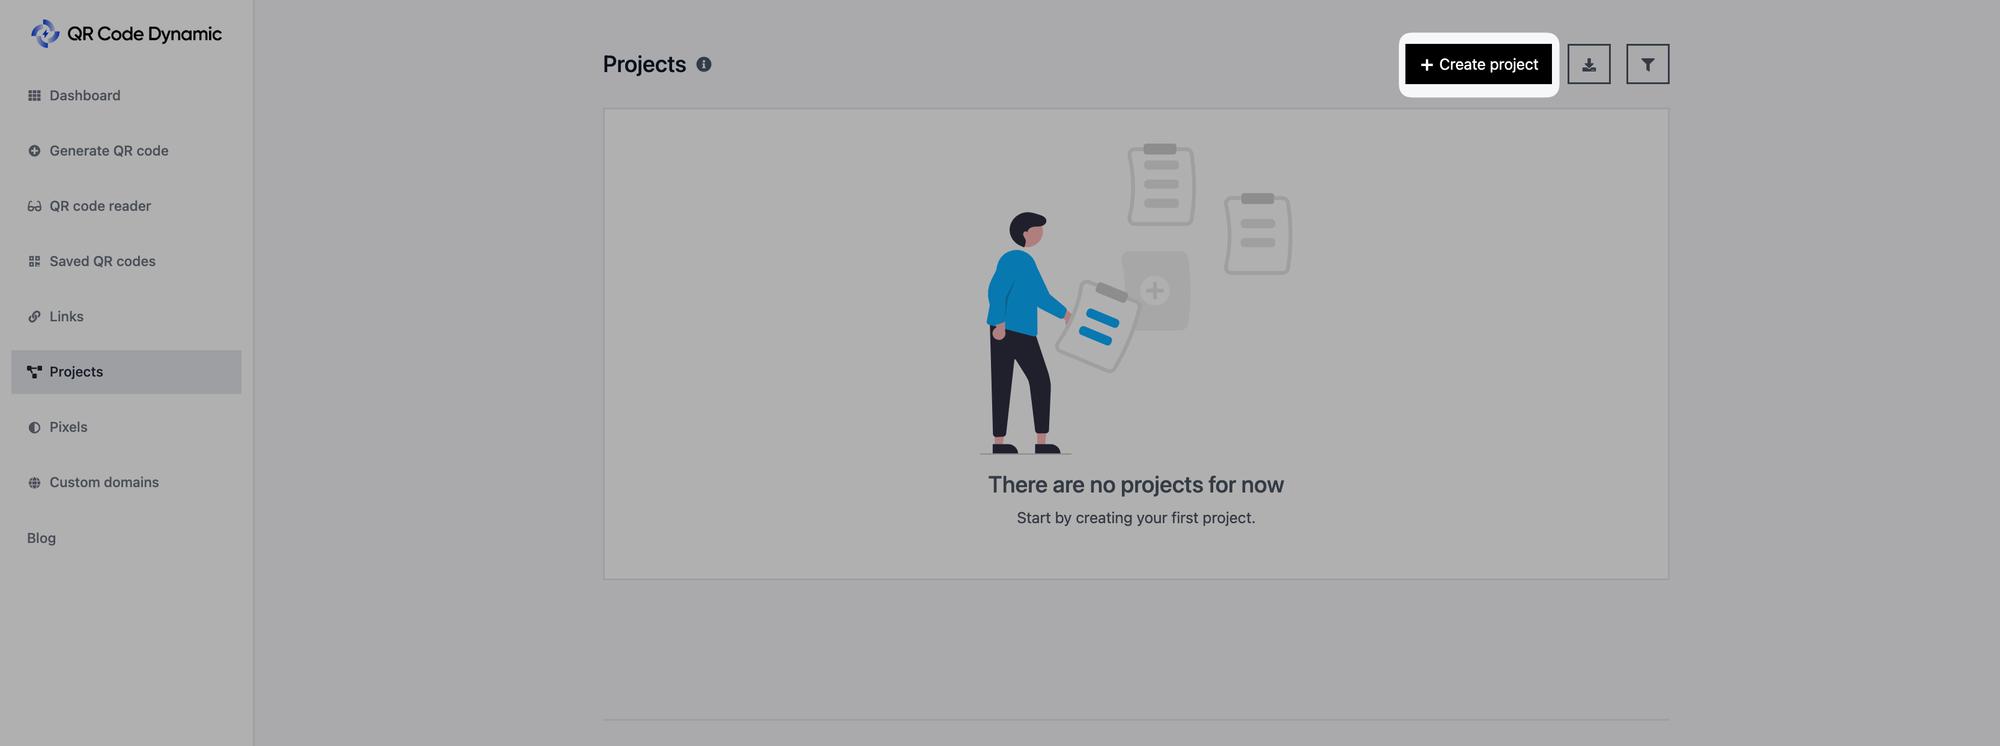
Step 3: Then click the “Create project” button
Step 4: Enter the project name and select color
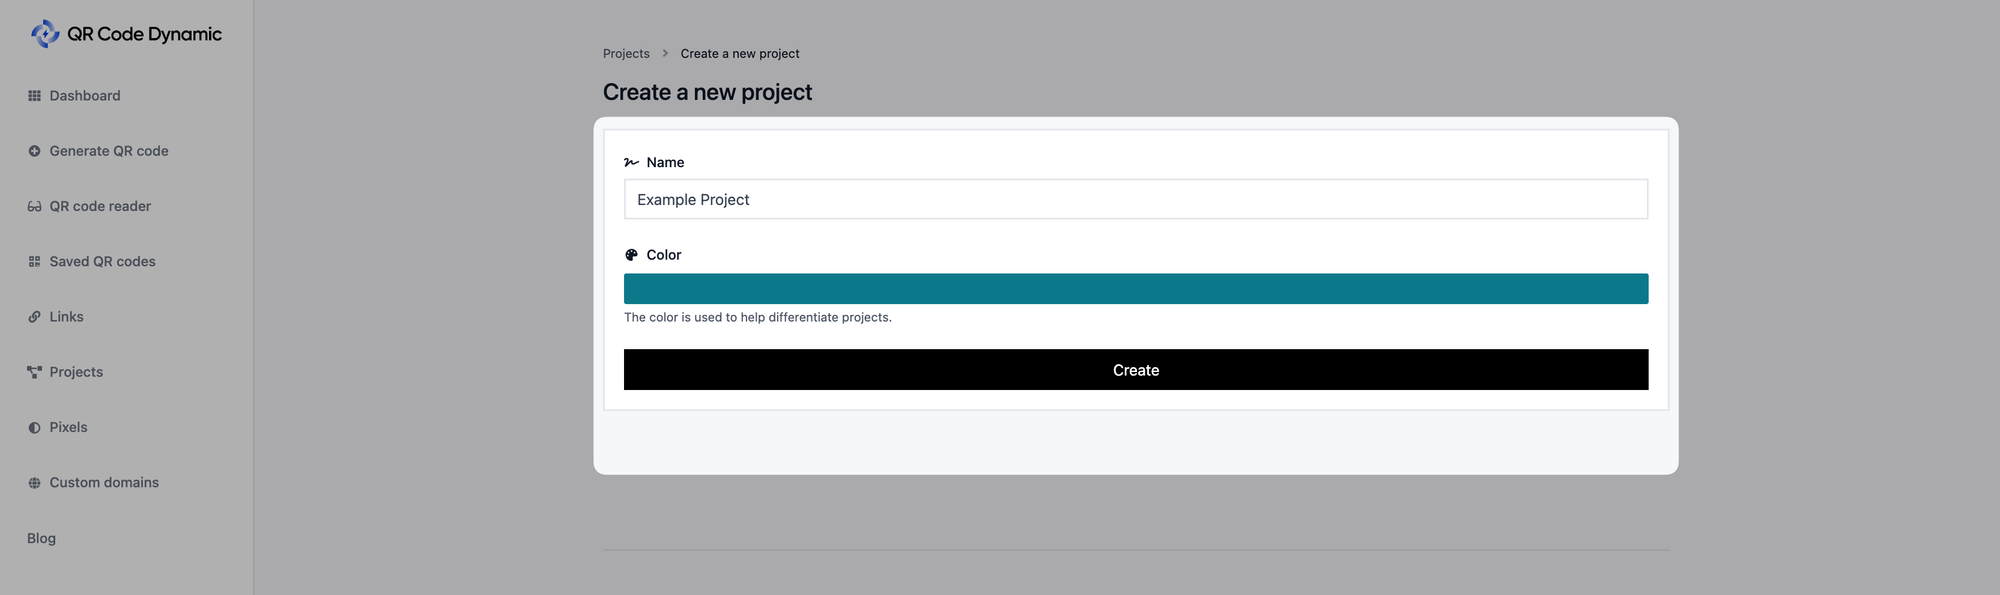
Enter a descriptive name for your project in the provided field that says “Name.”
Choose a name that helps you easily identify the purpose or content of the QR codes within the project.
Also, you can select a color from the “Color” part.
When you finish adding these details, click the “Create” button.
Step 5: Manage projects from the “Projects” page
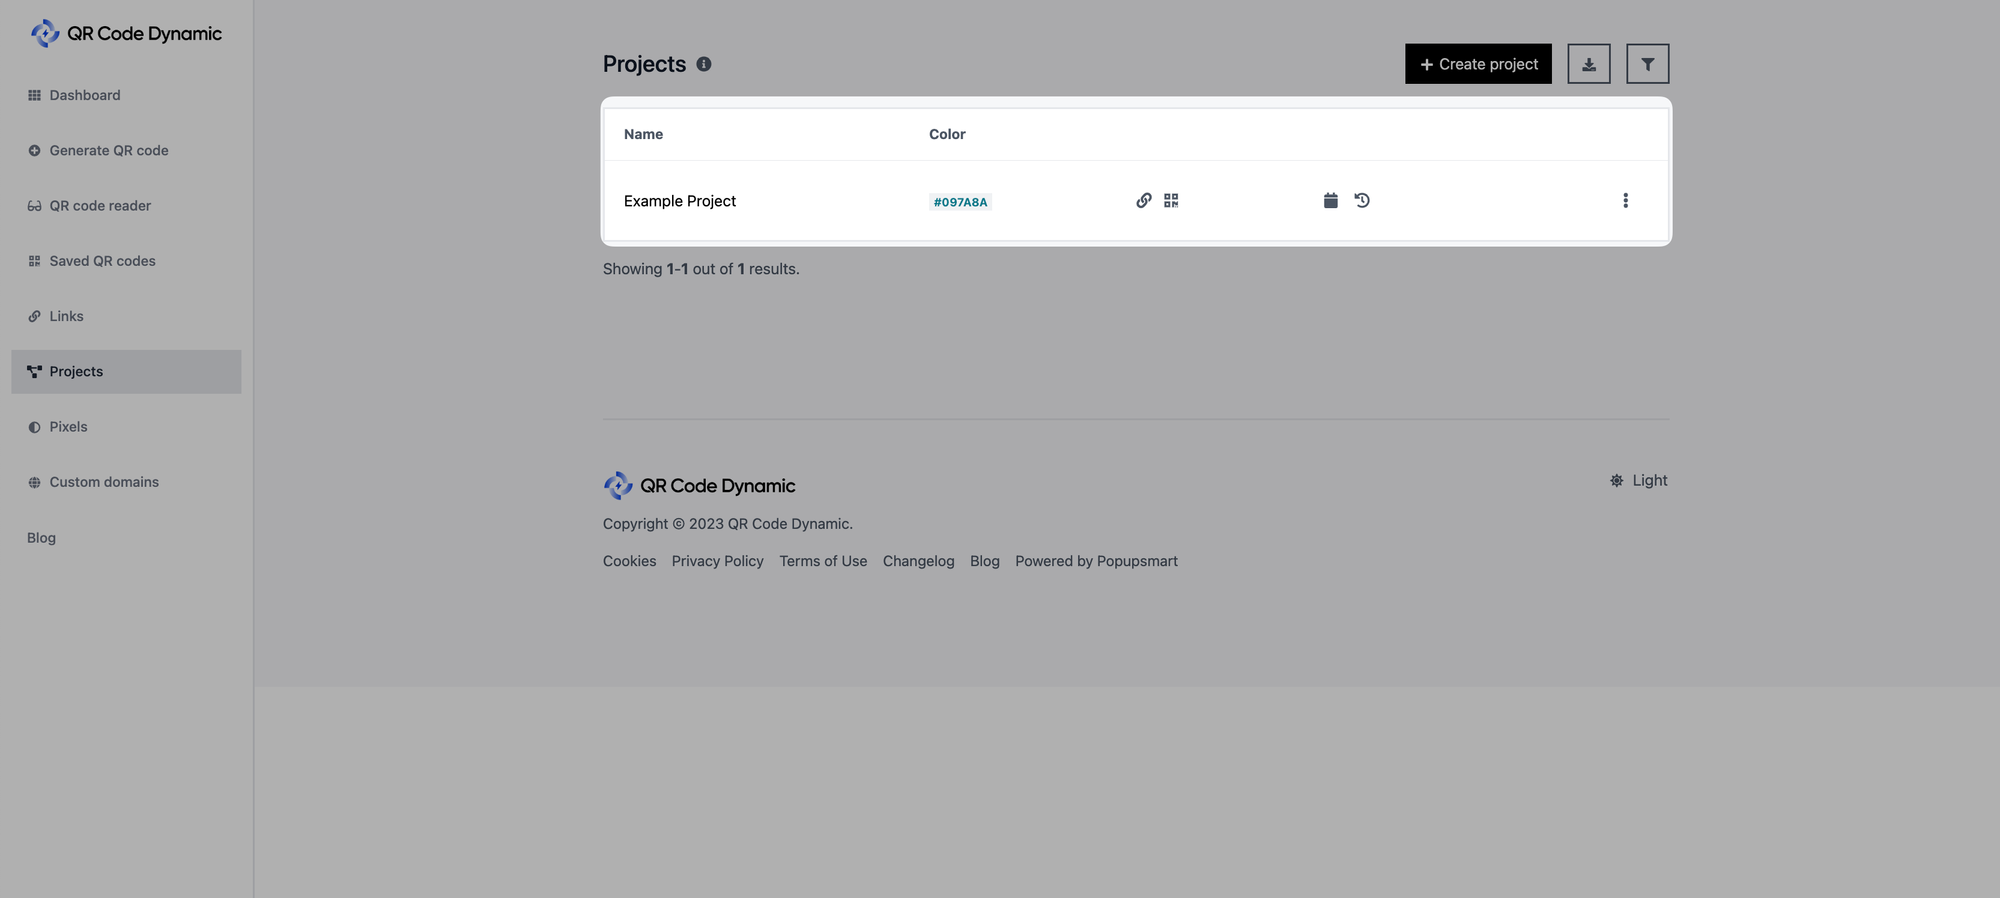
You can get an overview of your different projects on the “Projects” page.
Seeing links and QR codes of certain projects are possible. You can organize your links and QR codes by adding them to different projects.
You can edit and delete your projects from this page as well.
Another option: You can create a project while creating a QR code
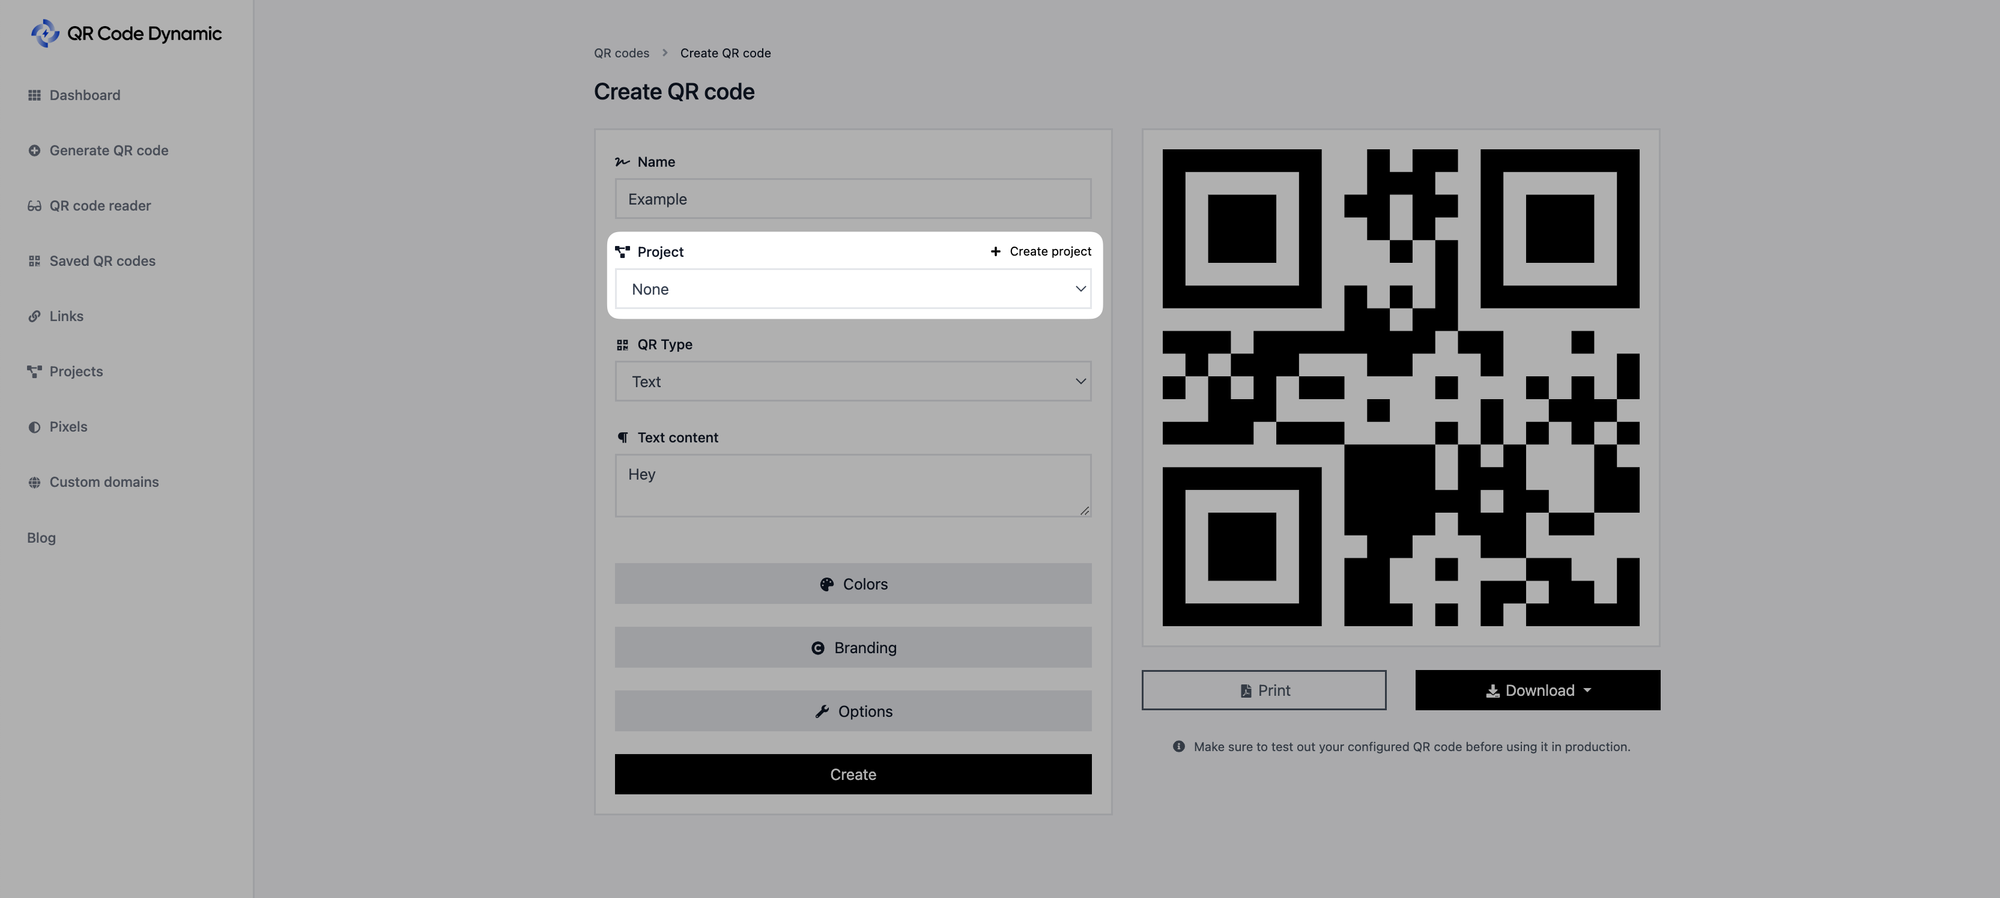
While creating your QR code, you can also create a new project. Click the “Create project” button on the “Project” part.
Good to know: Adding a QR code to a project
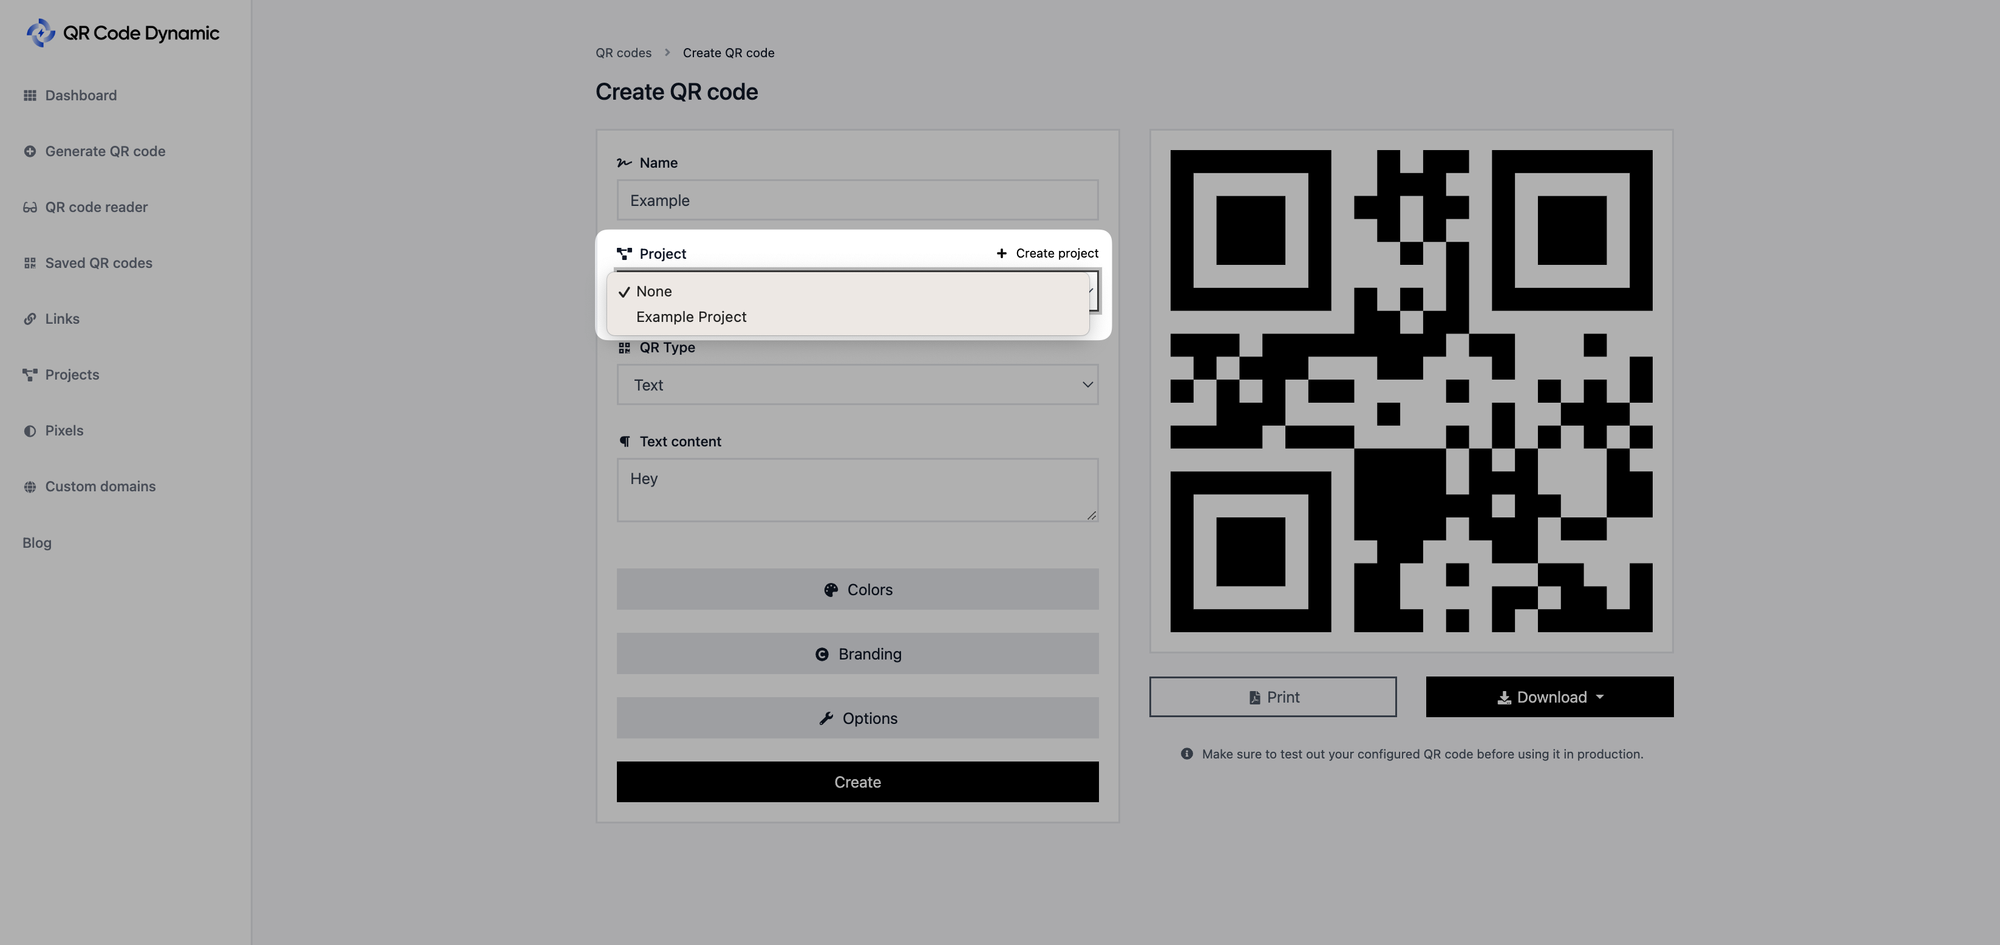
While creating a QR code from the “Projects” part, you can add it to your existing projects.
That is all for creating and managing projects! By organizing your QR codes with projects, you can effectively manage different QR codes for various projects.
If you have any questions, you can get in touch with us, and we’d be happy to help you!