How to Create an Event QR Code on QRCodeDynamic
Event QR Codes allow you to provide attendees with quick access to event details, such as date, time, location, and registration links. Users can easily save the event information by scanning the QR Code or opening it in their web browser.
See how you can create an event QR code with quick and easy steps:
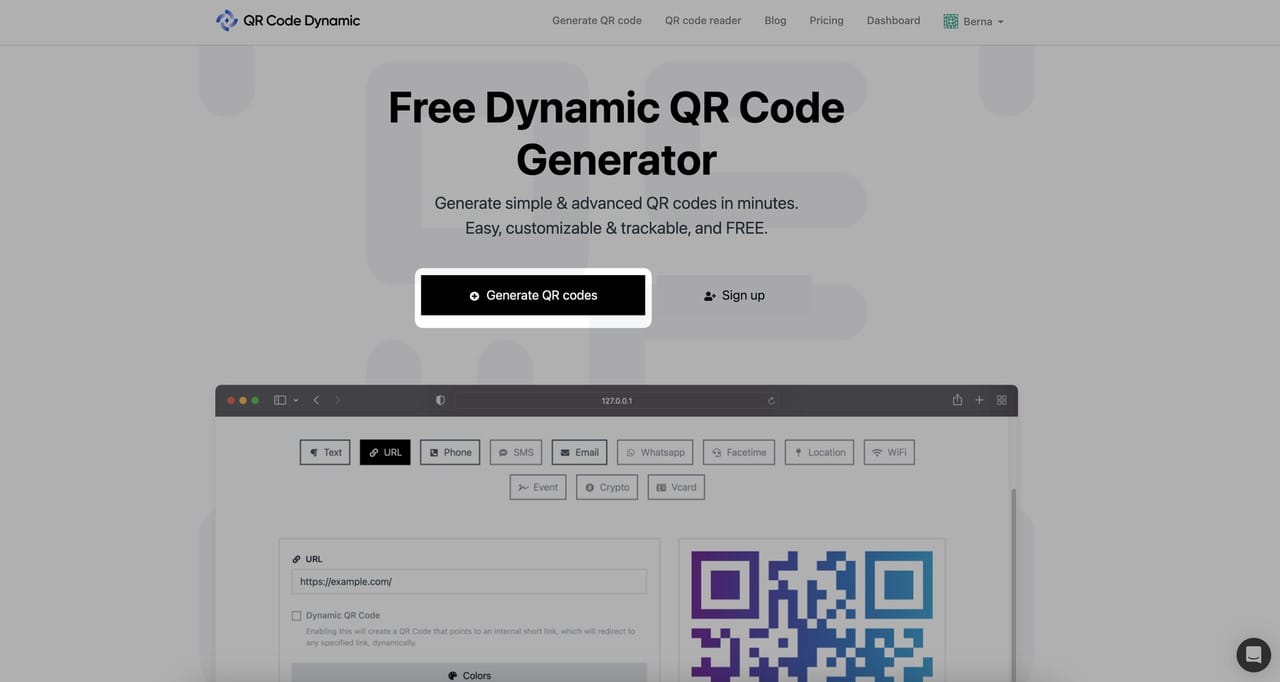
Step 1: Sign up & login to your account. Click the "Generate QR codes" button
Step 2: Choose the event QR code type

Select the "Event" QR code type from the QR code list.
Step 3: Enter the details of your event
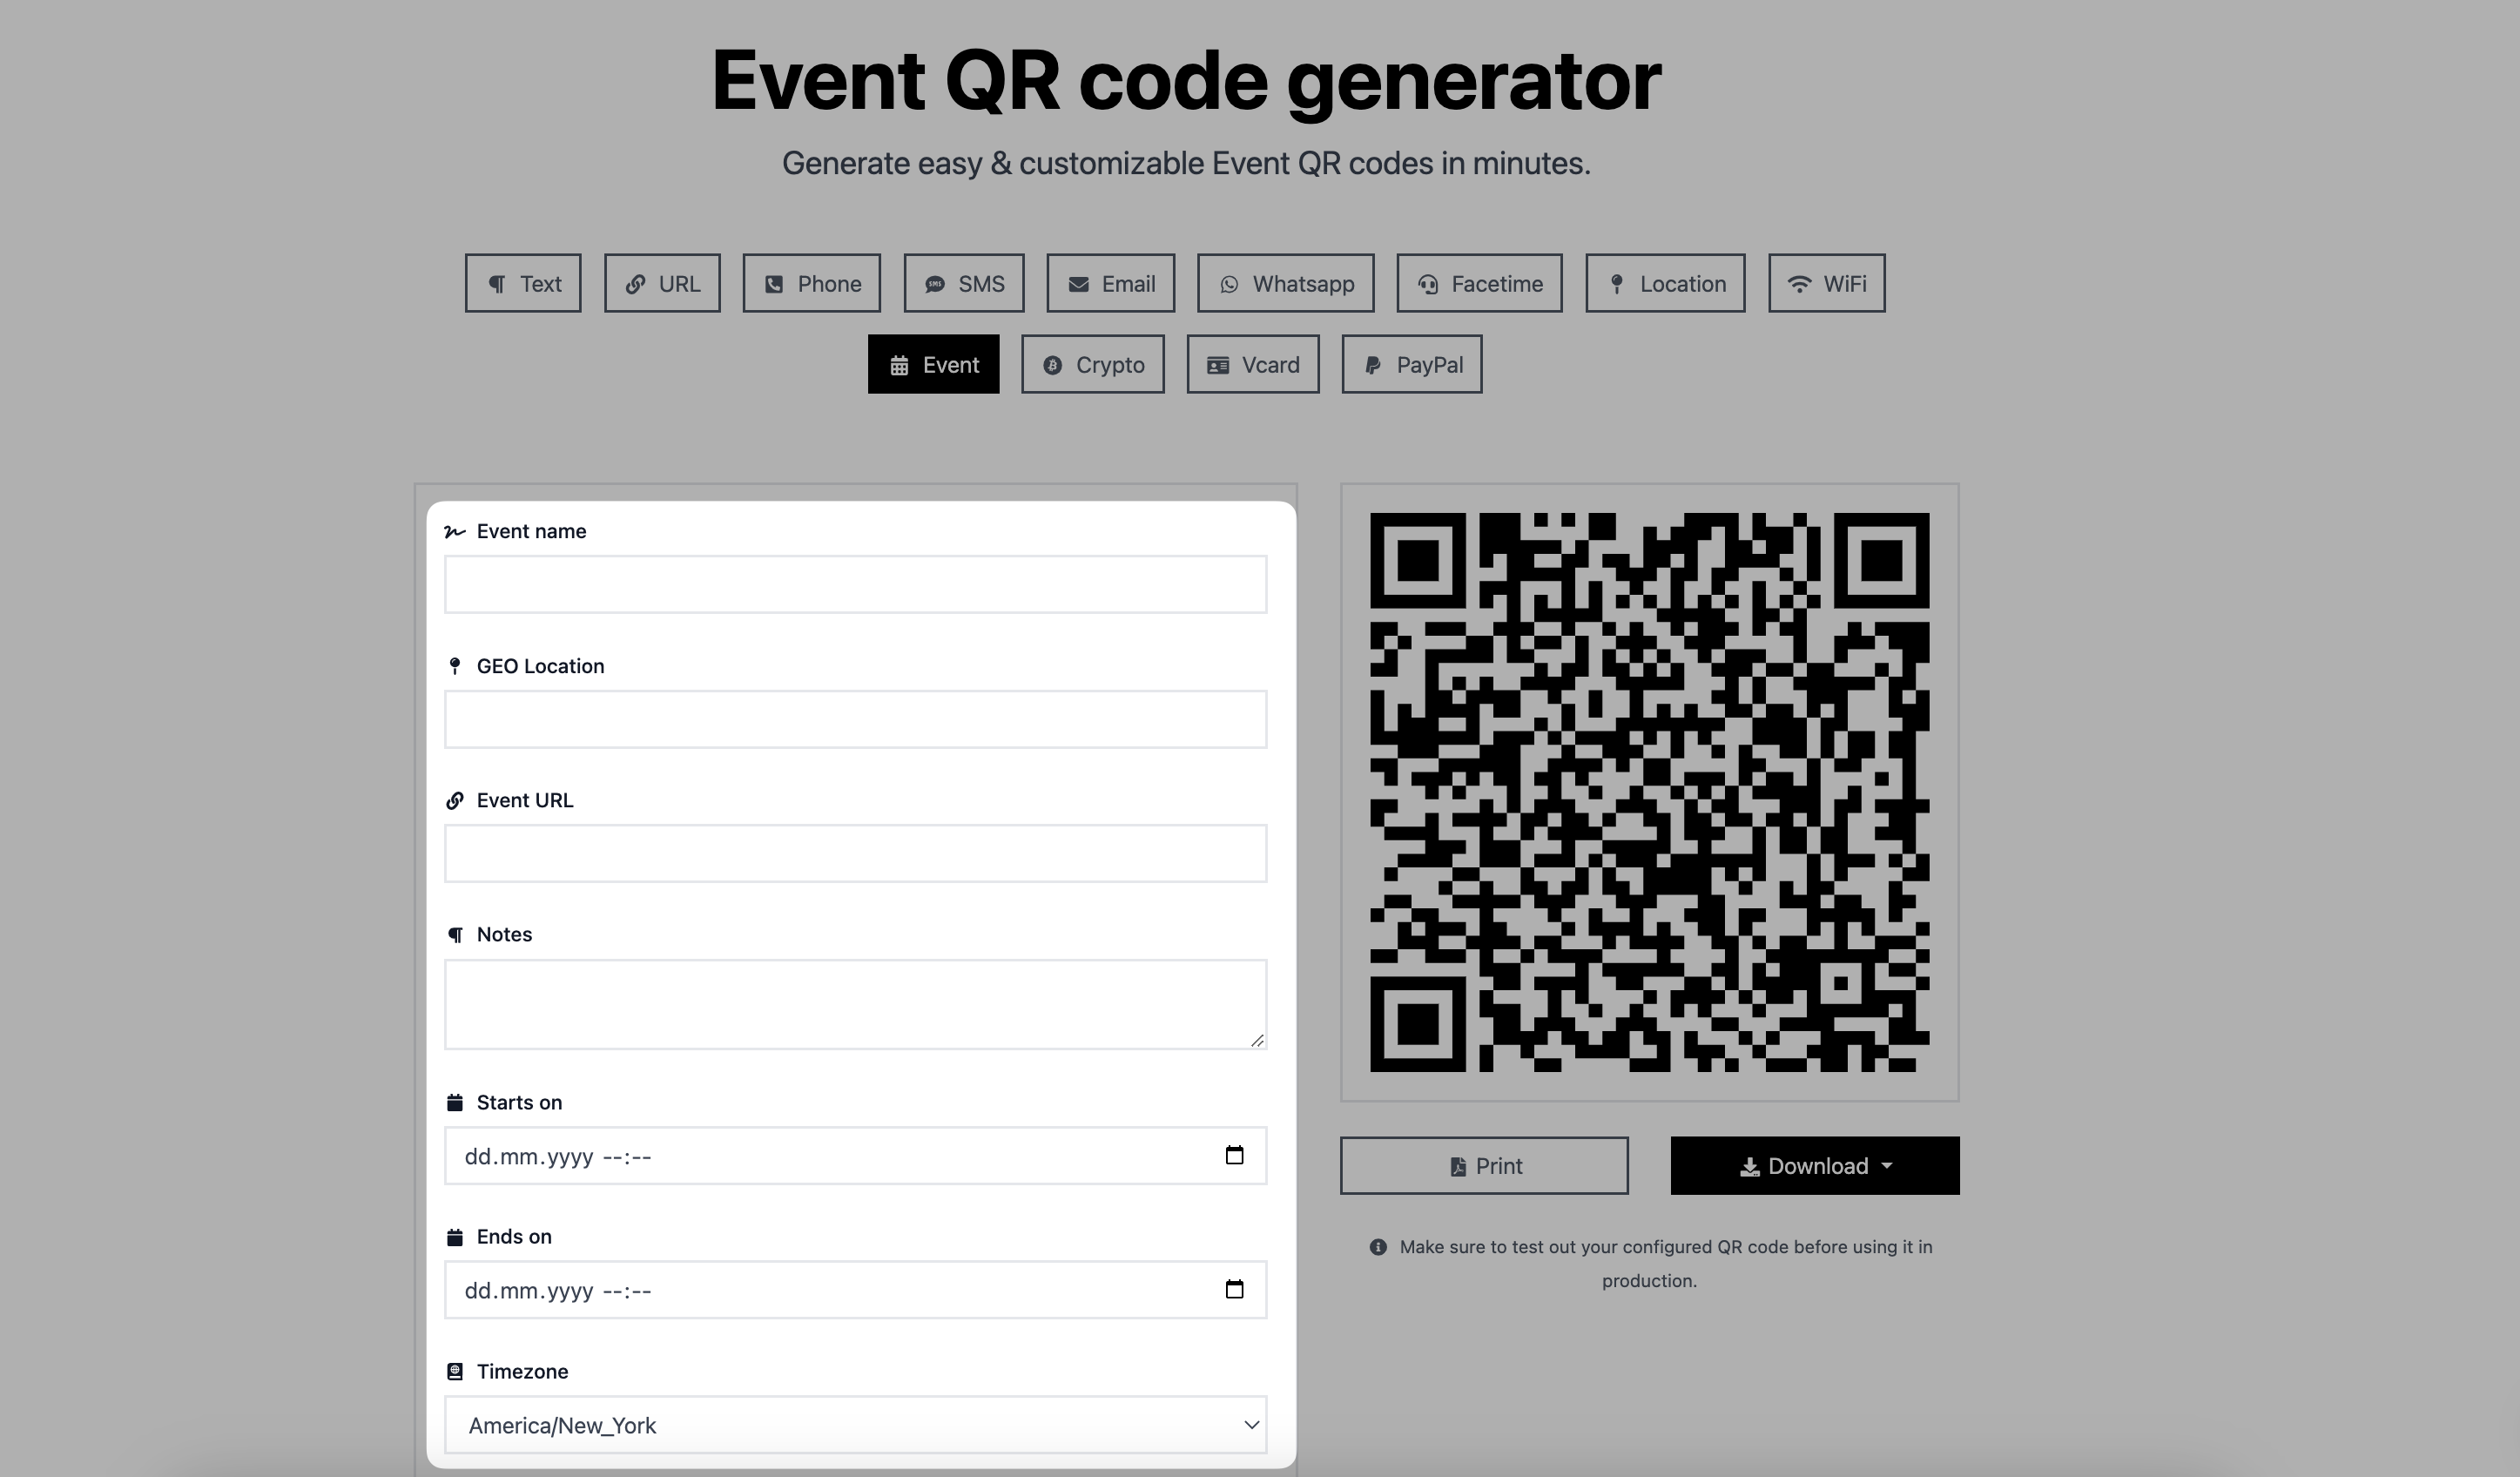
After selecting the event QR code type, you need to enter the details of your event.
From the "Event Name" field, enter the name of your event.
Then, from the "GEO Location" field, enter the venue or address of the event. You can add Google Maps links to this part.
By going to the "Event URL" part, you can enter your event's website if you have one.
If you have notes about your event, you can add them to the "Notes" part to inform your attendees.
After that, add the start and end dates of your event from the "Starts on" and "Ends on" fields.
Lastly, select the timezone of your event from the "Timezone" part.
While adding the details of your event, pay attention to providing the right information so as not to confuse or misguide your potential attendees.
Step 4: Customize the event QR code's colors if you want

You can customize the colors of your event QR code according to your style if you want!
From the "Style" section, you can choose square, dot, and round to change your QR code's look.
Below that, there are two foregrounds: color and gradient. You can choose the one that fits your event's style.
Then, select colors for the foreground and background.
Also, you can customize the color of the eyes on your QR code. Change the inner and outer eye colors to make your QR code more attractive.
Step 5: In the "Branding" section, enter your logo and select the size of your QR code in the "Options" section.
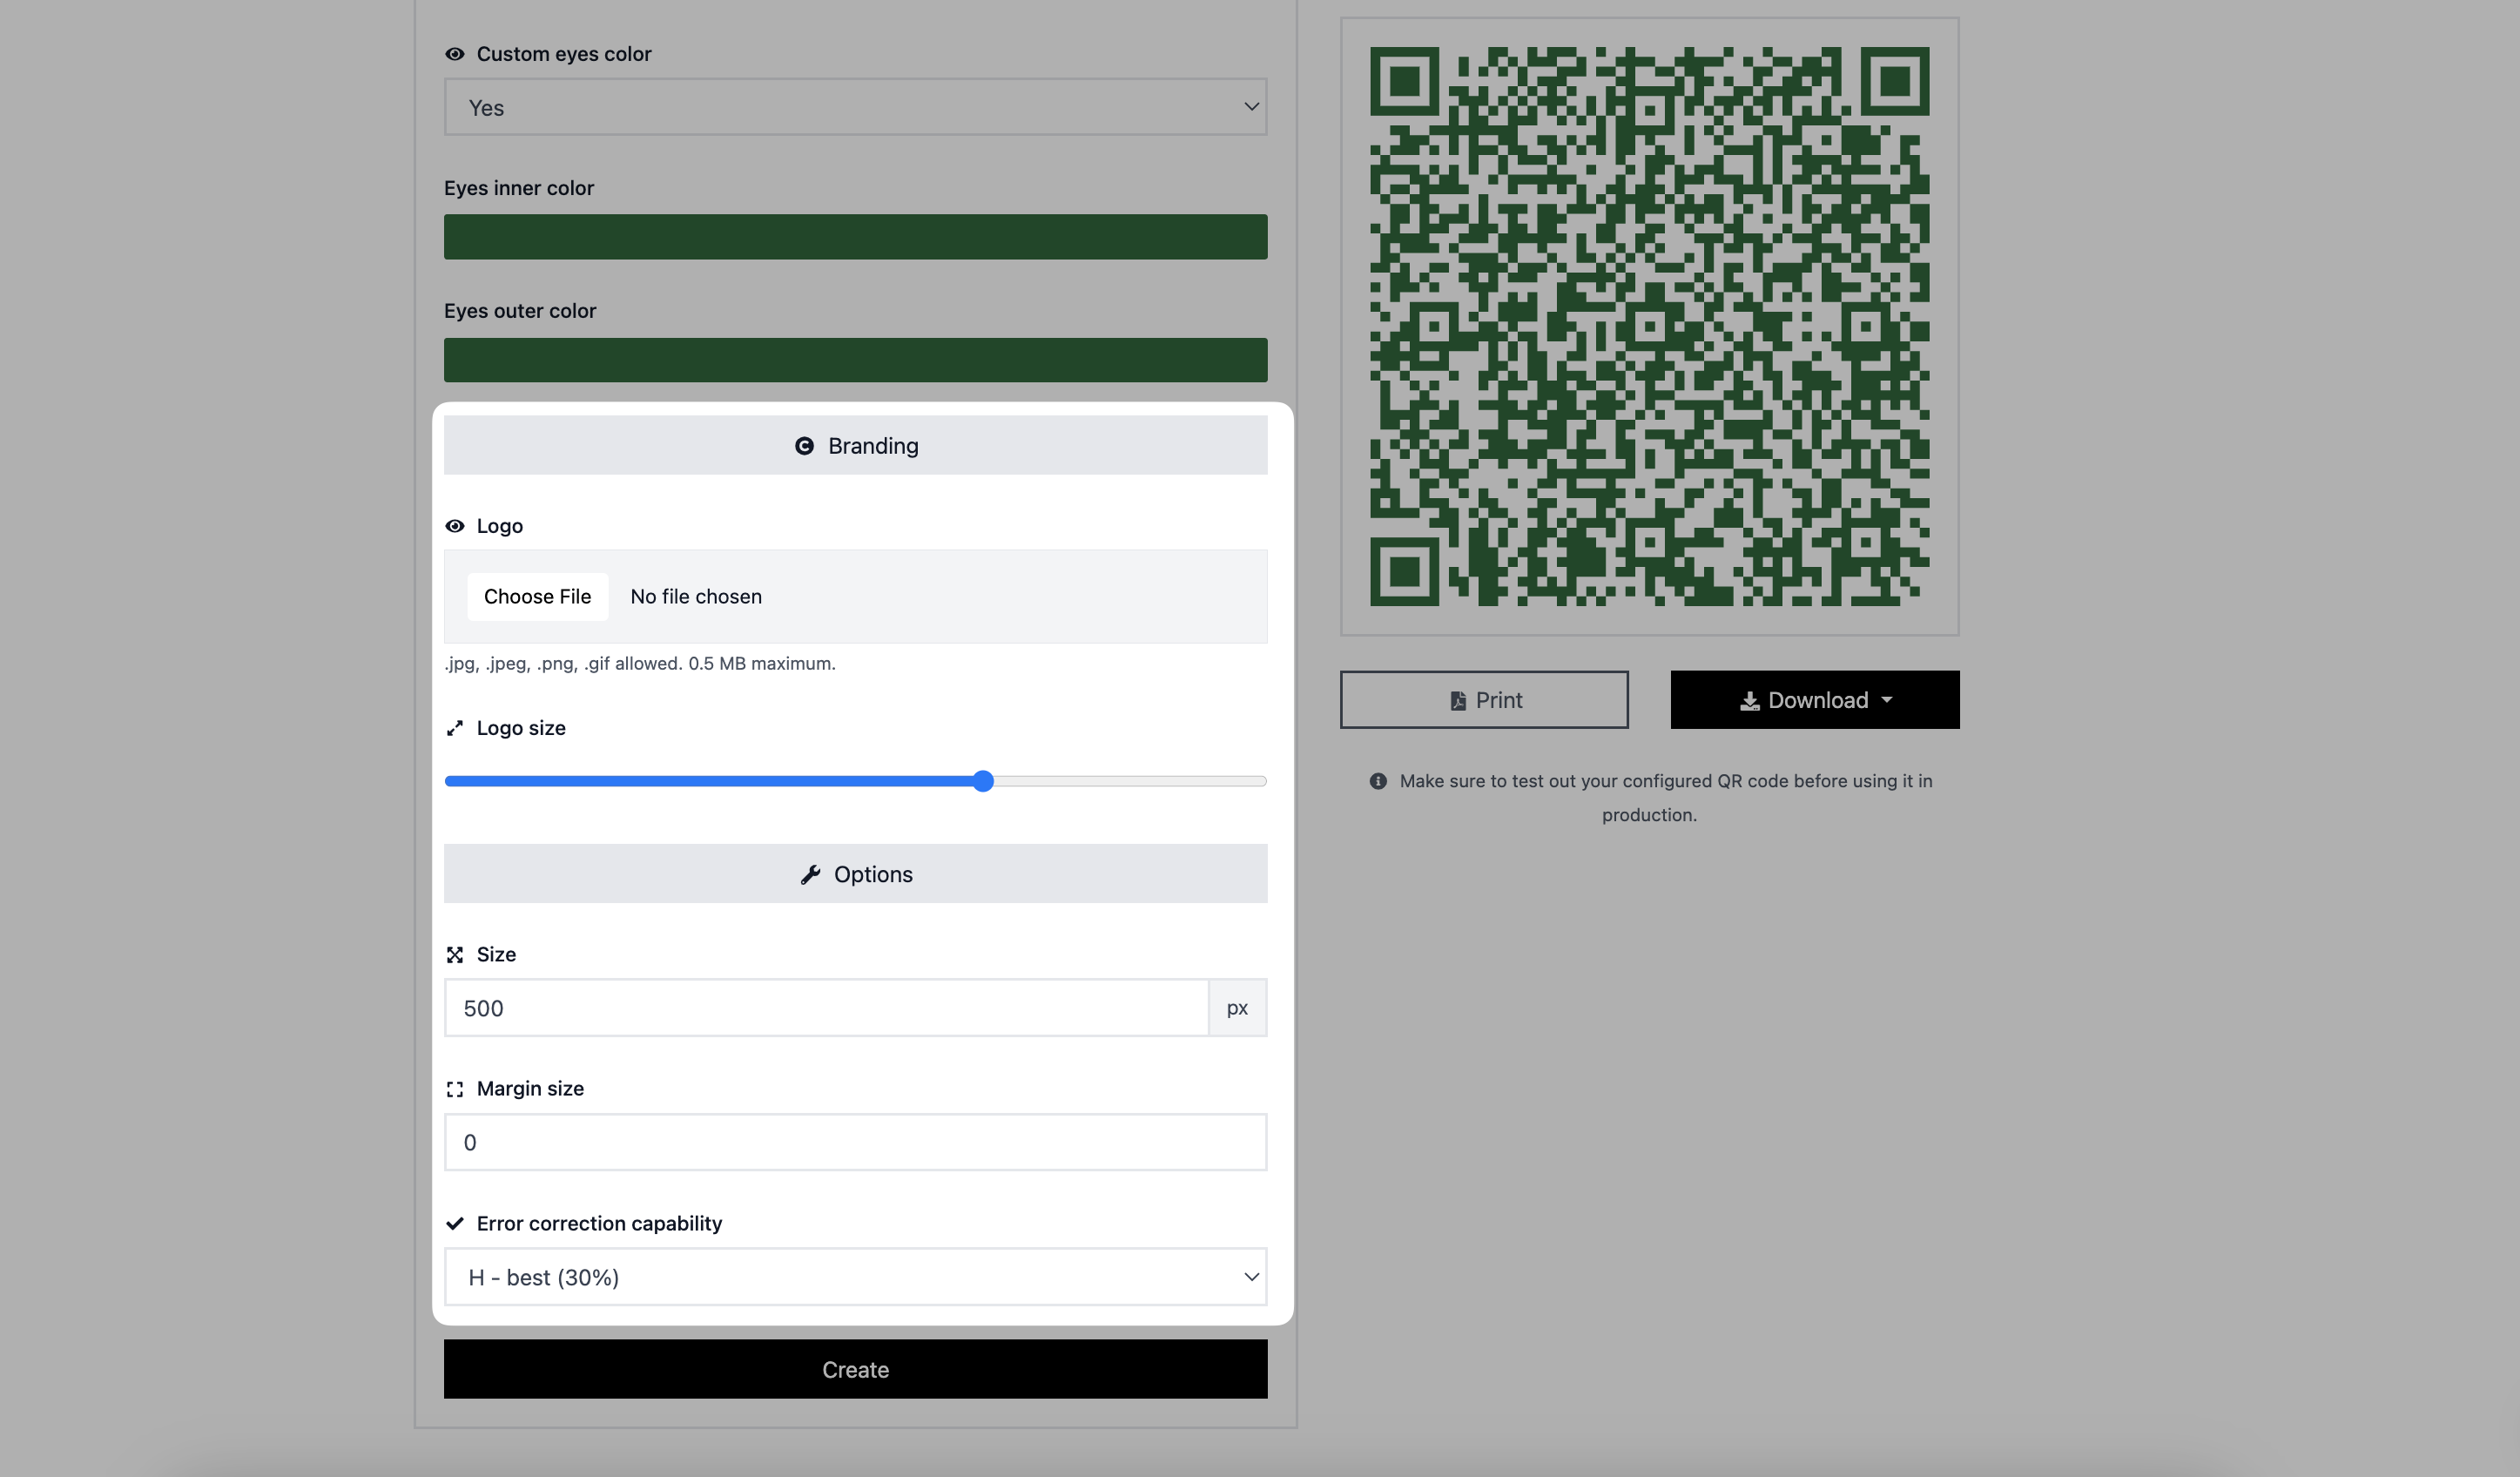
If you want to customize your QR code further, go to the "Branding" section, insert your logo, and adjust its size.
You can change your QR code's size, margin size, and mistake correction capabilities in the "Options" section.
Step 6: Create and download your event QR code
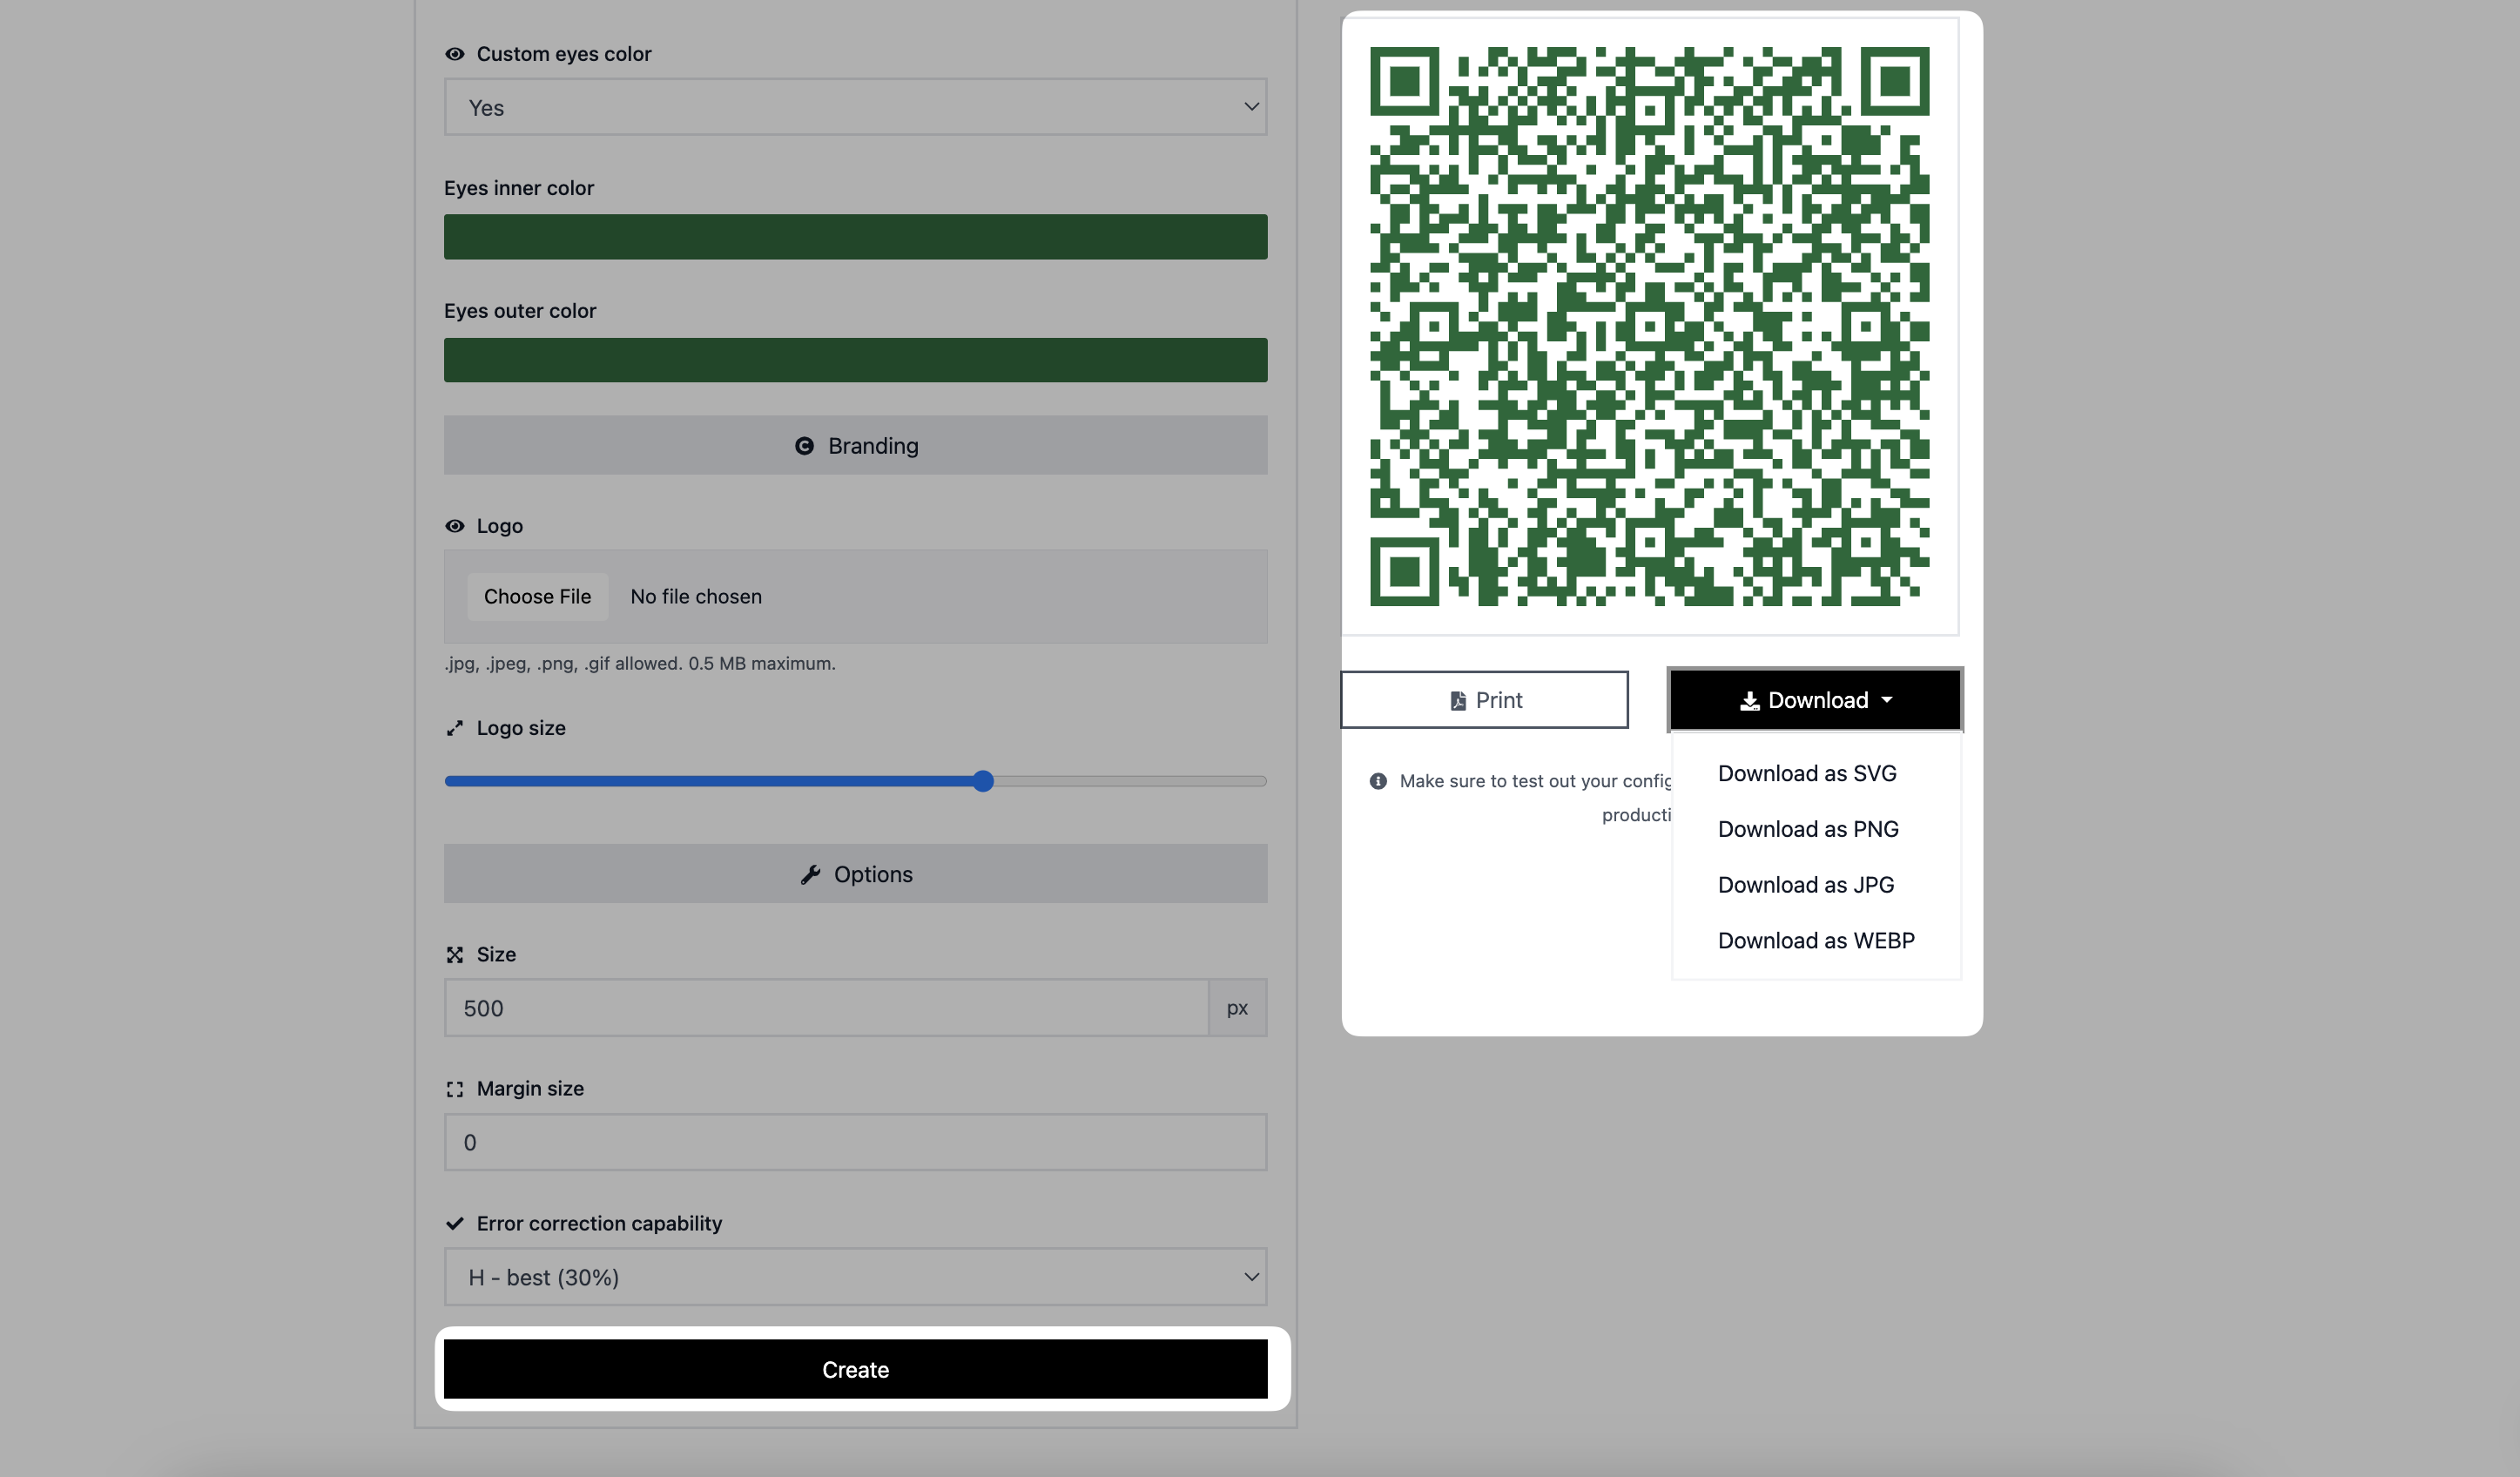
Once you've finished modifying your QR code, click the "Create" button to finish it. Then, depending on your requirements, you can print it or save it as a JPG, PNG, SVG, or WEBP file.
That's it! You can now use this QR code to provide attendees with quick access to event details. Share the QR Code through various channels, such as event invitations, social media posts, or printed materials.
Attendees can scan the QR code to save the event details or open the event page in their web browser, making it easy for them to access important information and stay updated about the event.
Do you have further questions about creating or customizing the event QR code? Feel free to contact us.