How to Create an Email QR Code on QRCodeDynamic
Email QR codes allow you to encode an email address that can be easily scanned and used to compose an email by others.
Thanks to email QR codes, you can make it much easier for your audience to send custom emails according to your needs.
This guide will walk you through creating an email QR code. Follow the instructions below to create it in under minutes.
Step 1: On the QR Code Dynamic home page, click the "Generate QR codes" button.
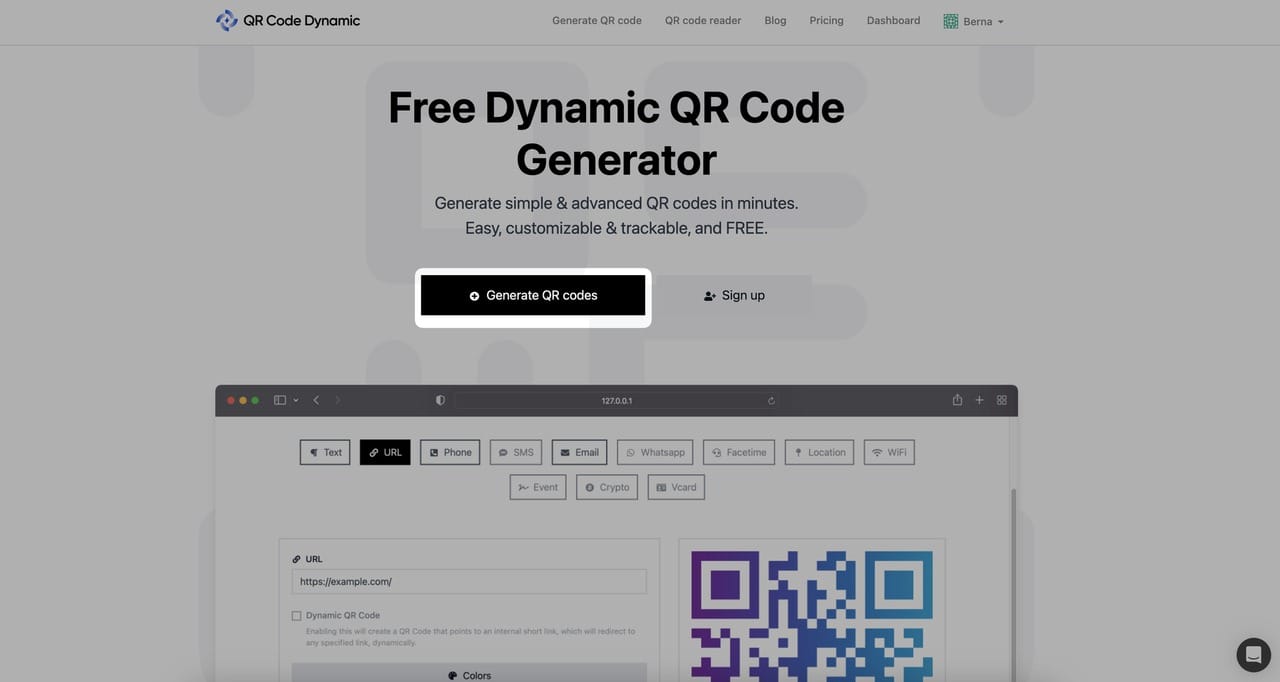
After you sign up and log in to your account, you can generate your email QR code by clicking the "Generate QR codes" button.
Step 2: Choose the Email QR Code Type
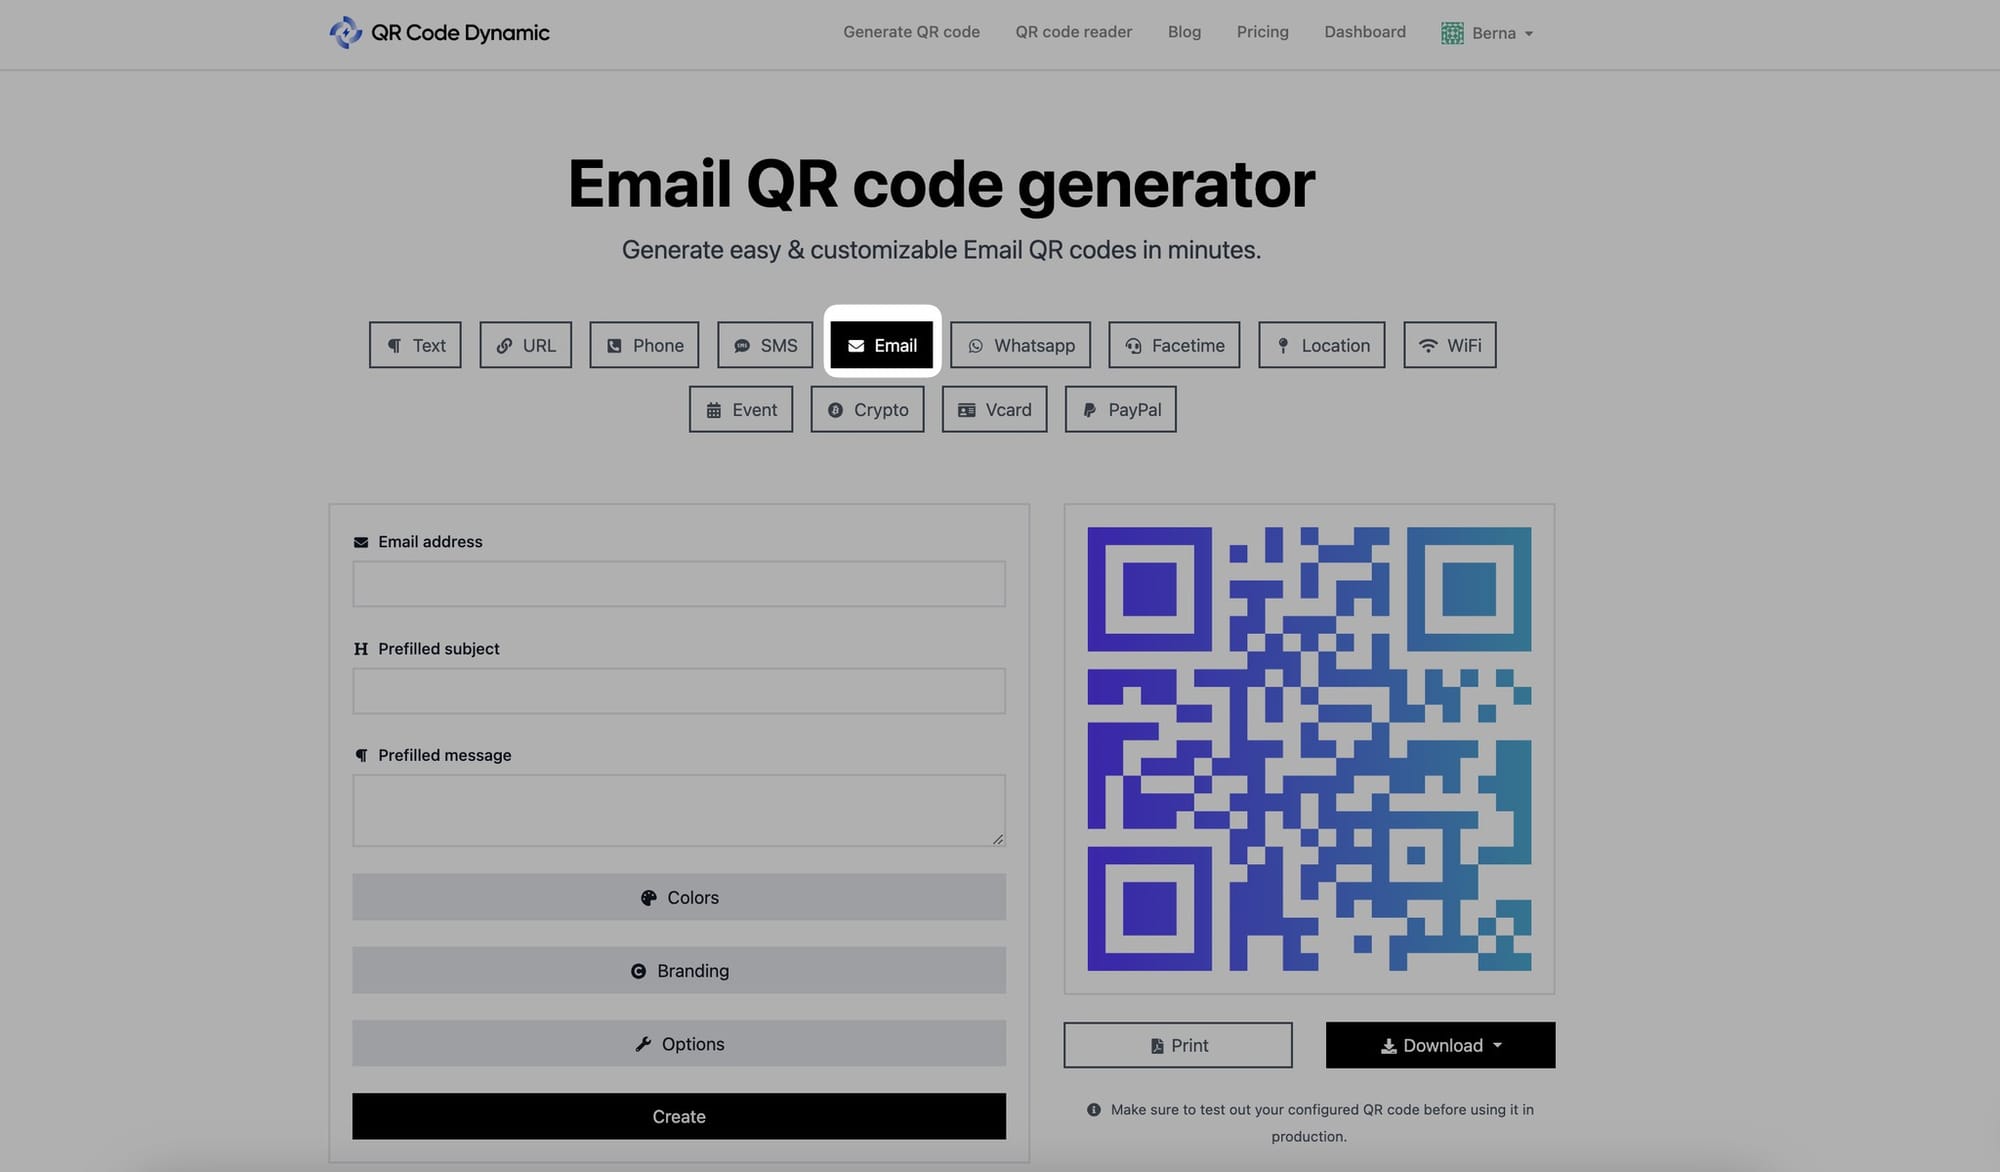
In the QR code creation page, look for the QR code types list and select "Email."
Step 3: Enter the email address, pre-filled subject & pre-filled message
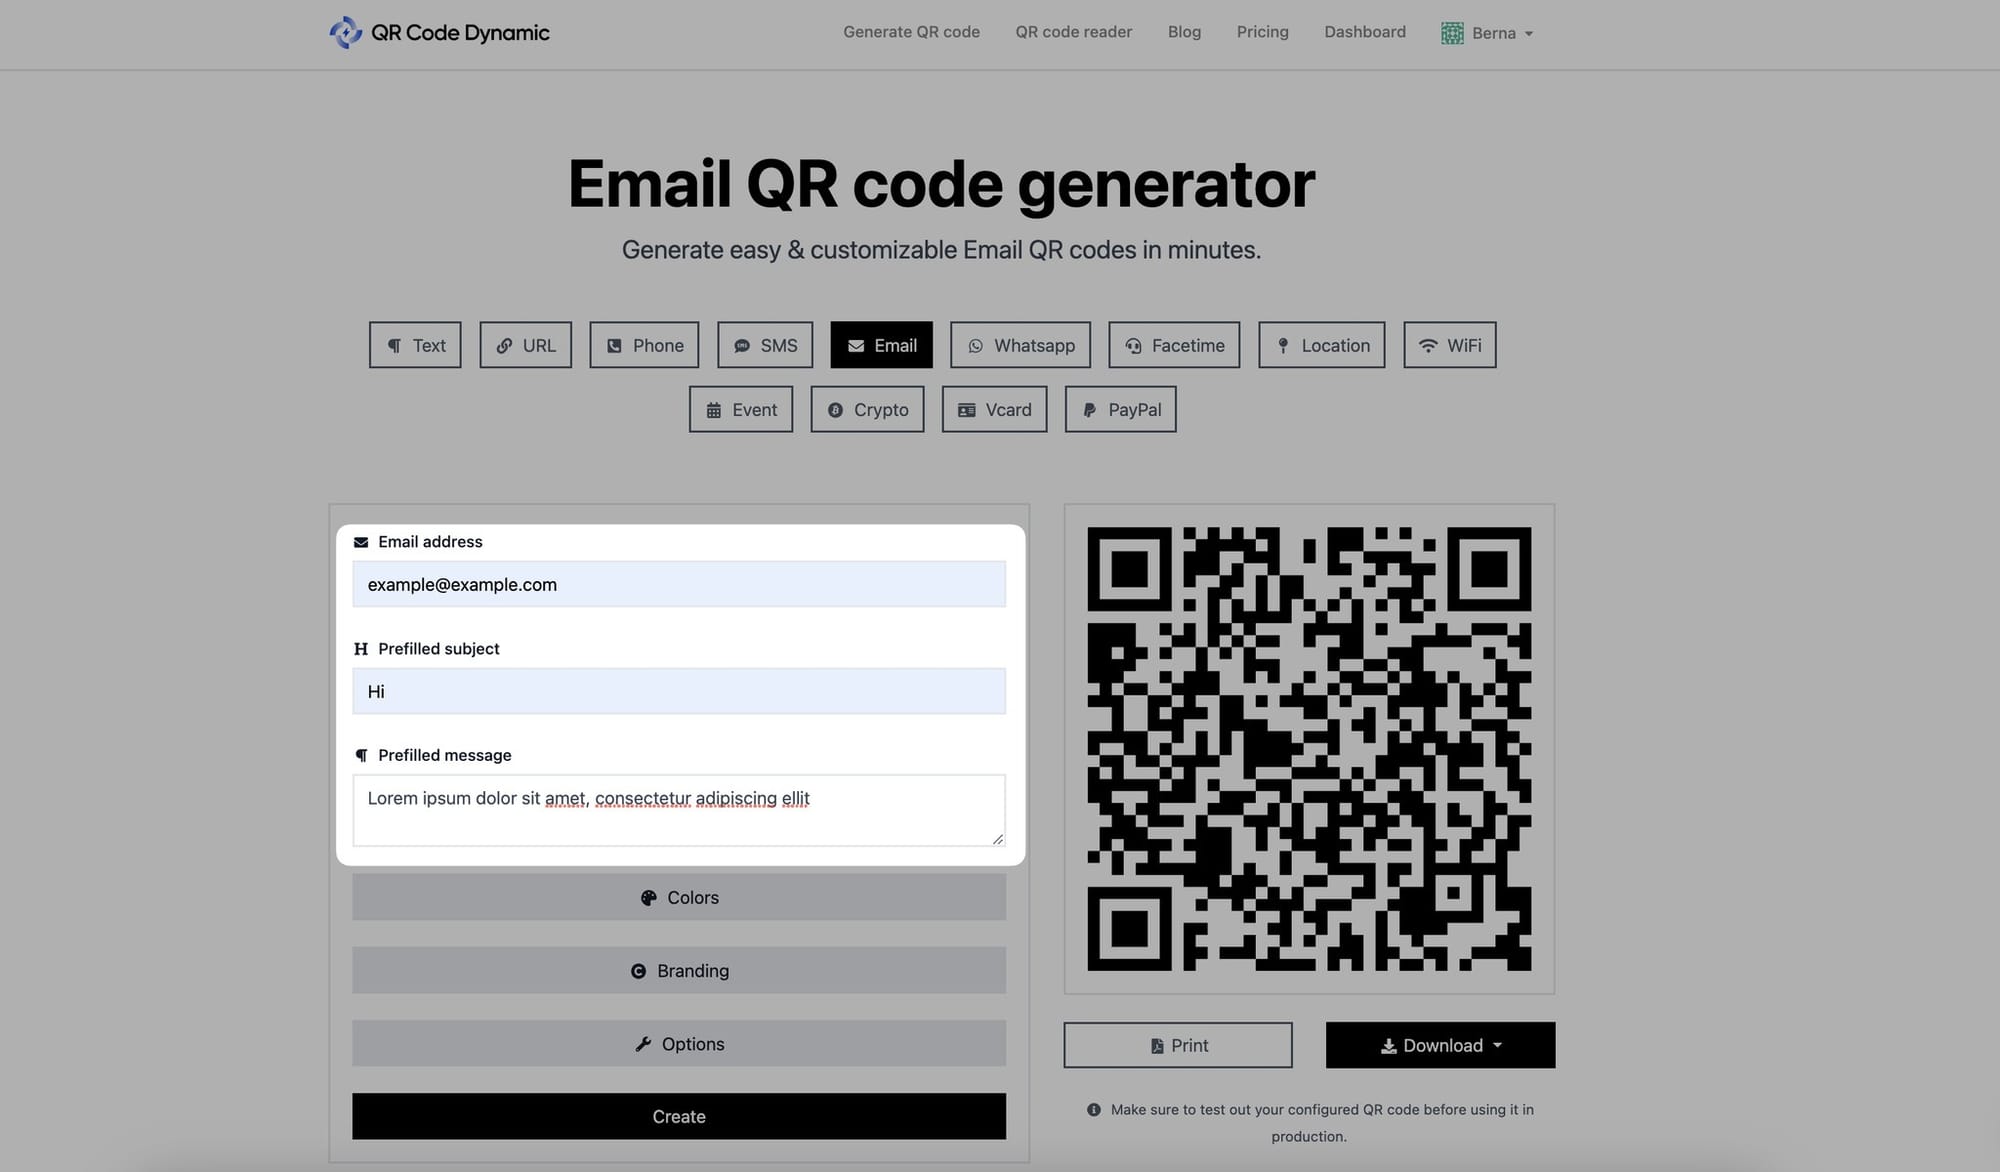
After selecting the Email QR Code type, you will see designated fields for entering the email address, subject, and message.
Enter the email address you want to encode to the "Email address" field.
Type the subject line you want in the "Pre-filled subject" part.
Write the message you want to include in the email QR code to the "Pre-filled message" part.
Step 4: Customize the email QR code's colors
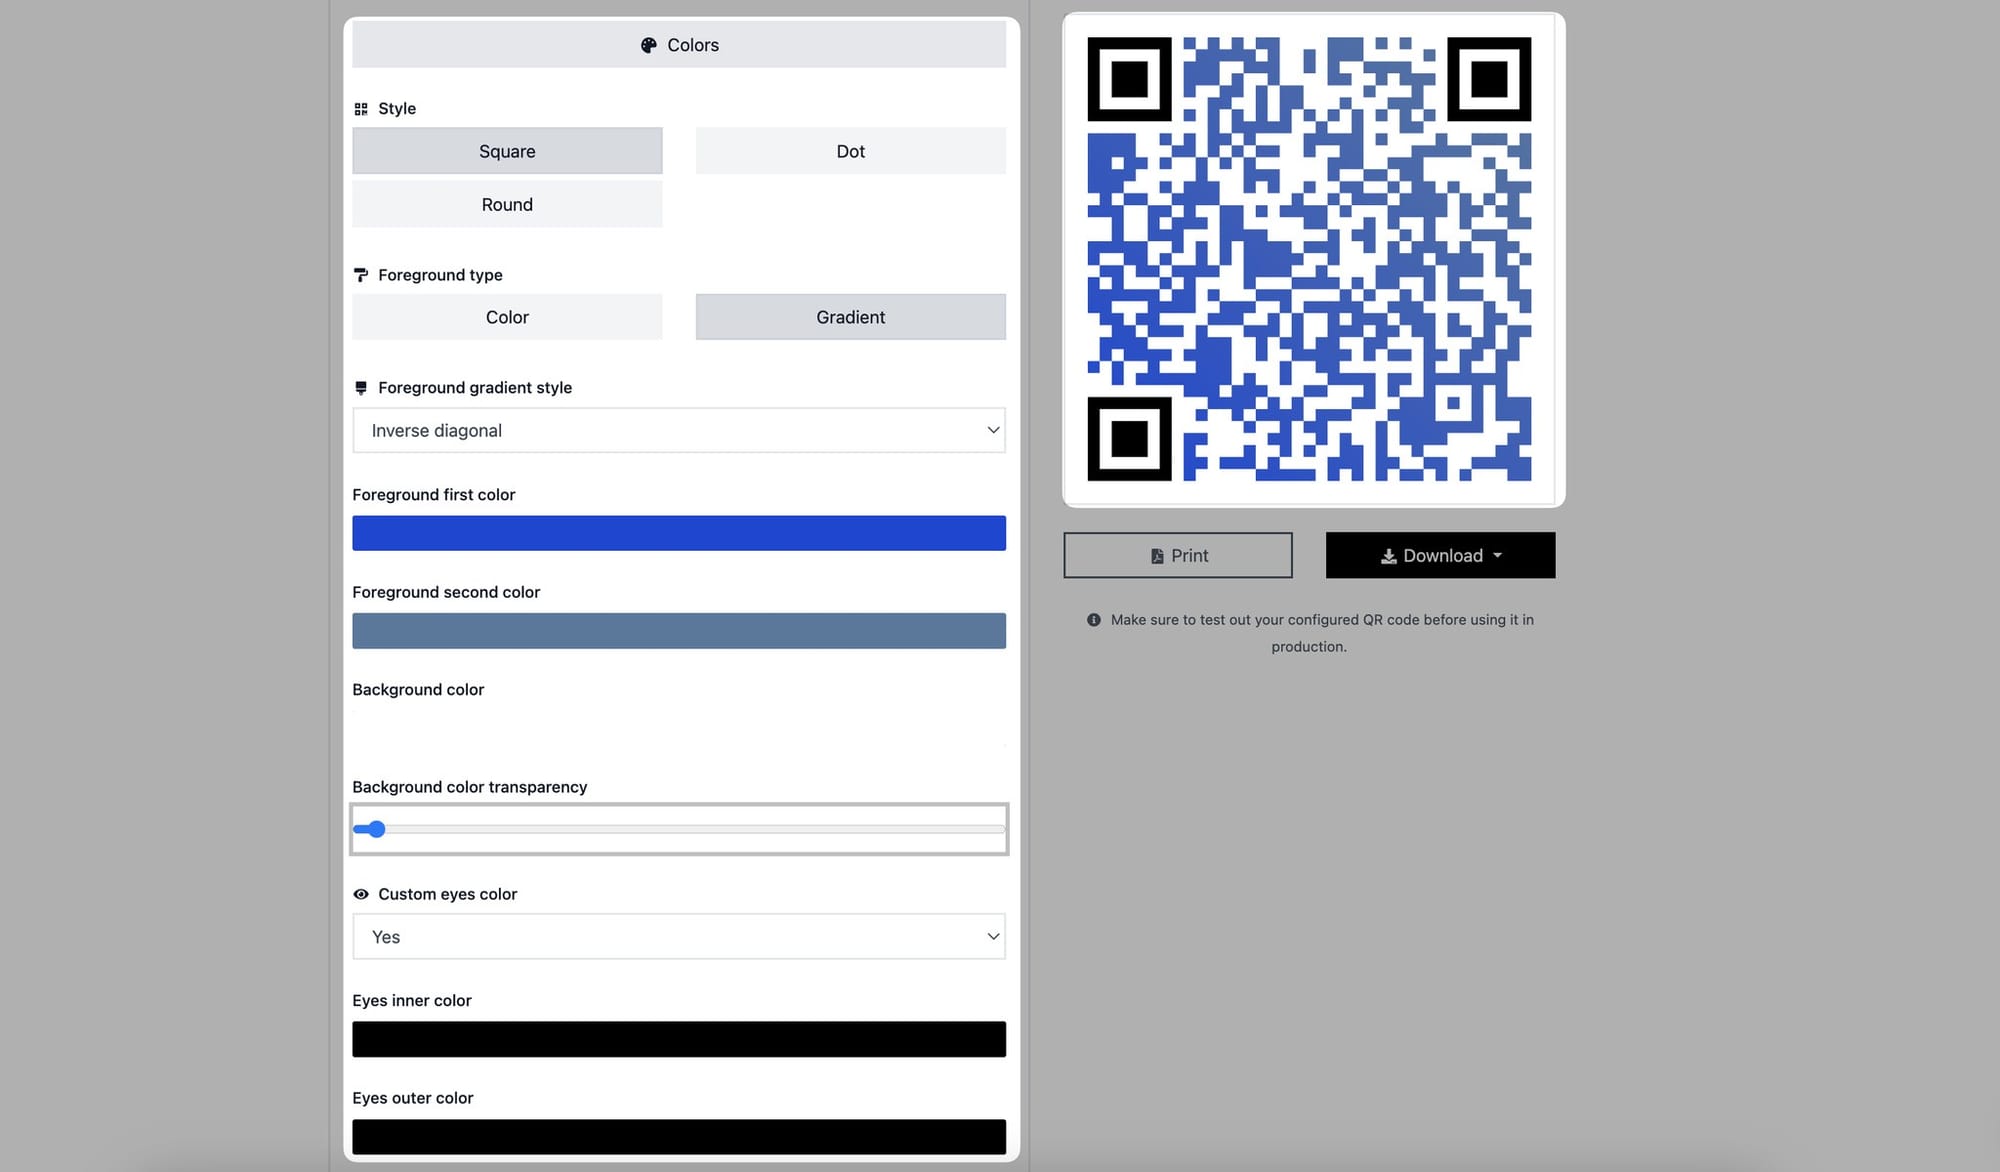
You can customize the colors of your email QR code if you want to get creative.
In the "Style" area, you can choose between square, dot, and round.
The two available foregrounds are color and gradient. You can select the one that best meets your requirements.
Then, pick colors for the foreground and background.
You can even change the color of the eyes on your QR code! Customize the inner and outer eye colors to make your QR code more appealing.
Step 5: Go to the "Branding" part to add your logo and change the size of your QR code from the "Options" section
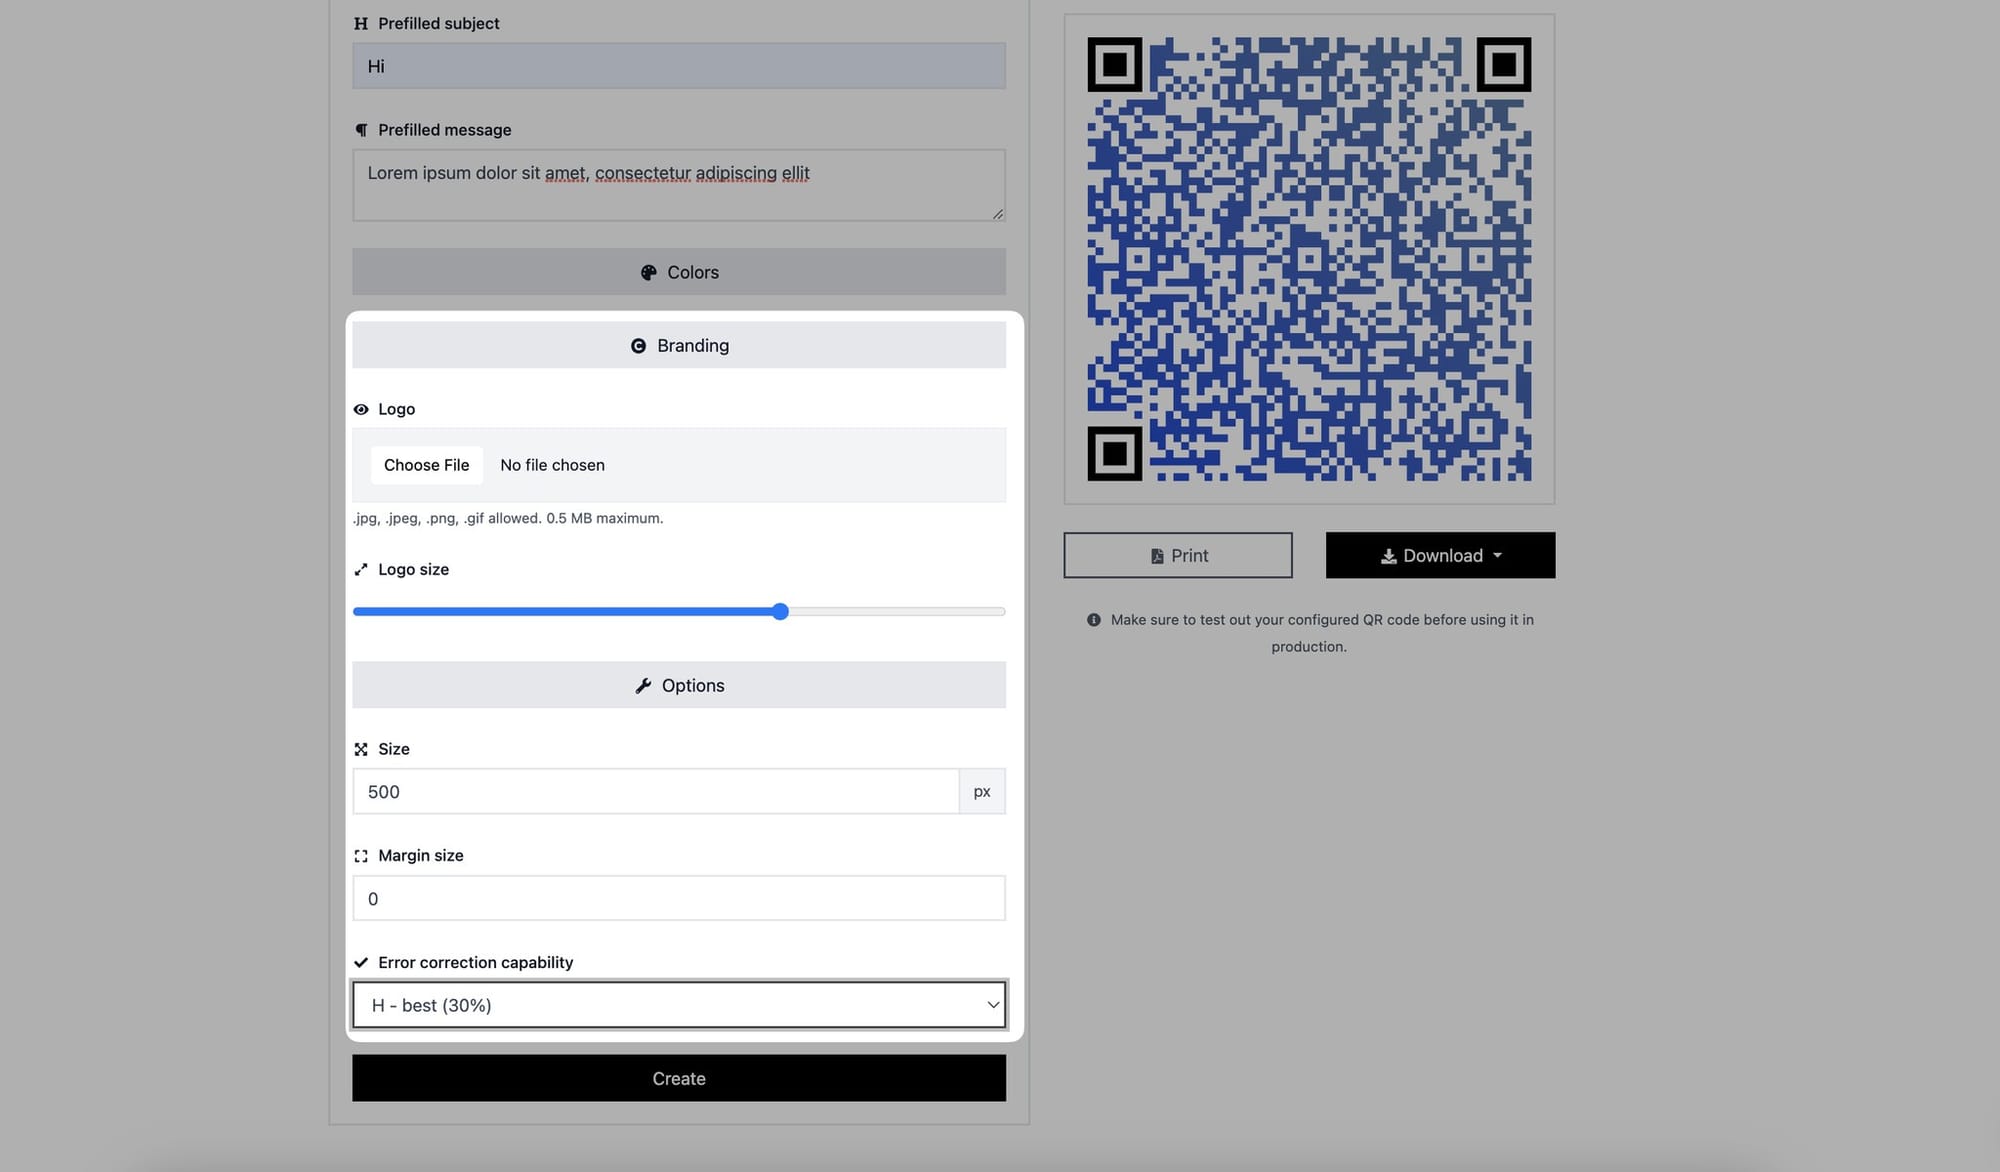
You can enter your logo and change its size by going to the "Branding" area.
In the "Options" area, you can adjust your QR code's size, margin size, and error correction capabilities.
Step 6. Generate and download your email QR code
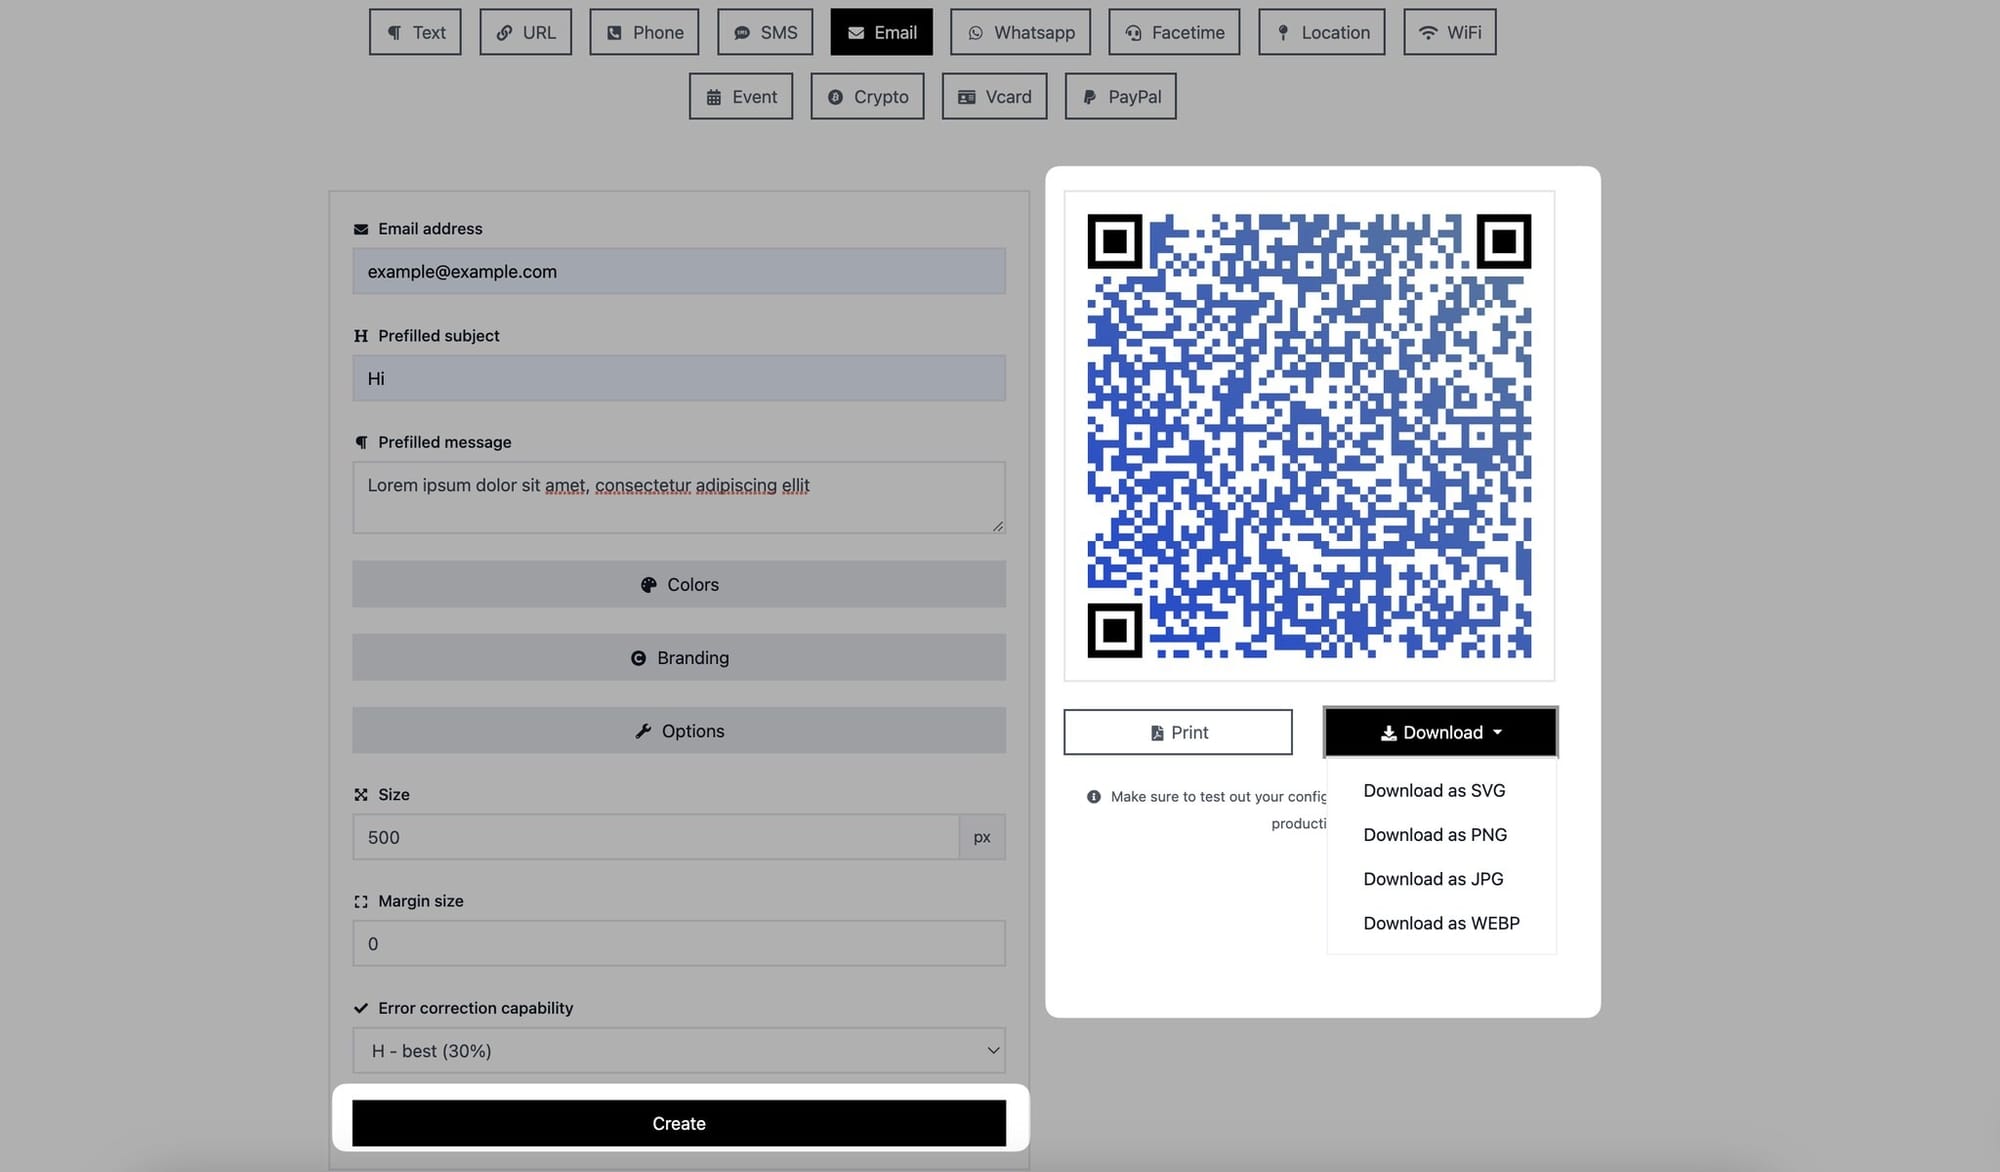
Once you have entered the email details and customized the QR code, click the "Create" button to generate your email QR code.
After the QR Code is generated, you can print it or download it as JPG, PNG, SVG, or WEBP.
Easy peasy! You have successfully created an email QR code.
Thanks to the email QR codes you share, customers can quickly contact you via email if they have any problems with your products or services. Because the process is quick and easy, your company's customer satisfaction will undoubtedly rise.
You can also use email QR codes for your various marketing campaigns and allow your audience to interact with you.
Need assistance? Feel free to contact us; we'd be happy to solve your problems while creating an email QR code.