How to Create a Vcard QR Code on QRCodeDynamic
Vcard QR codes allow you to share your contact information in a convenient and scannable format. By scanning the QR Code, others can easily save your contact details to their devices.
Follow the instructions below to build your Vcard QR code seamlessly.
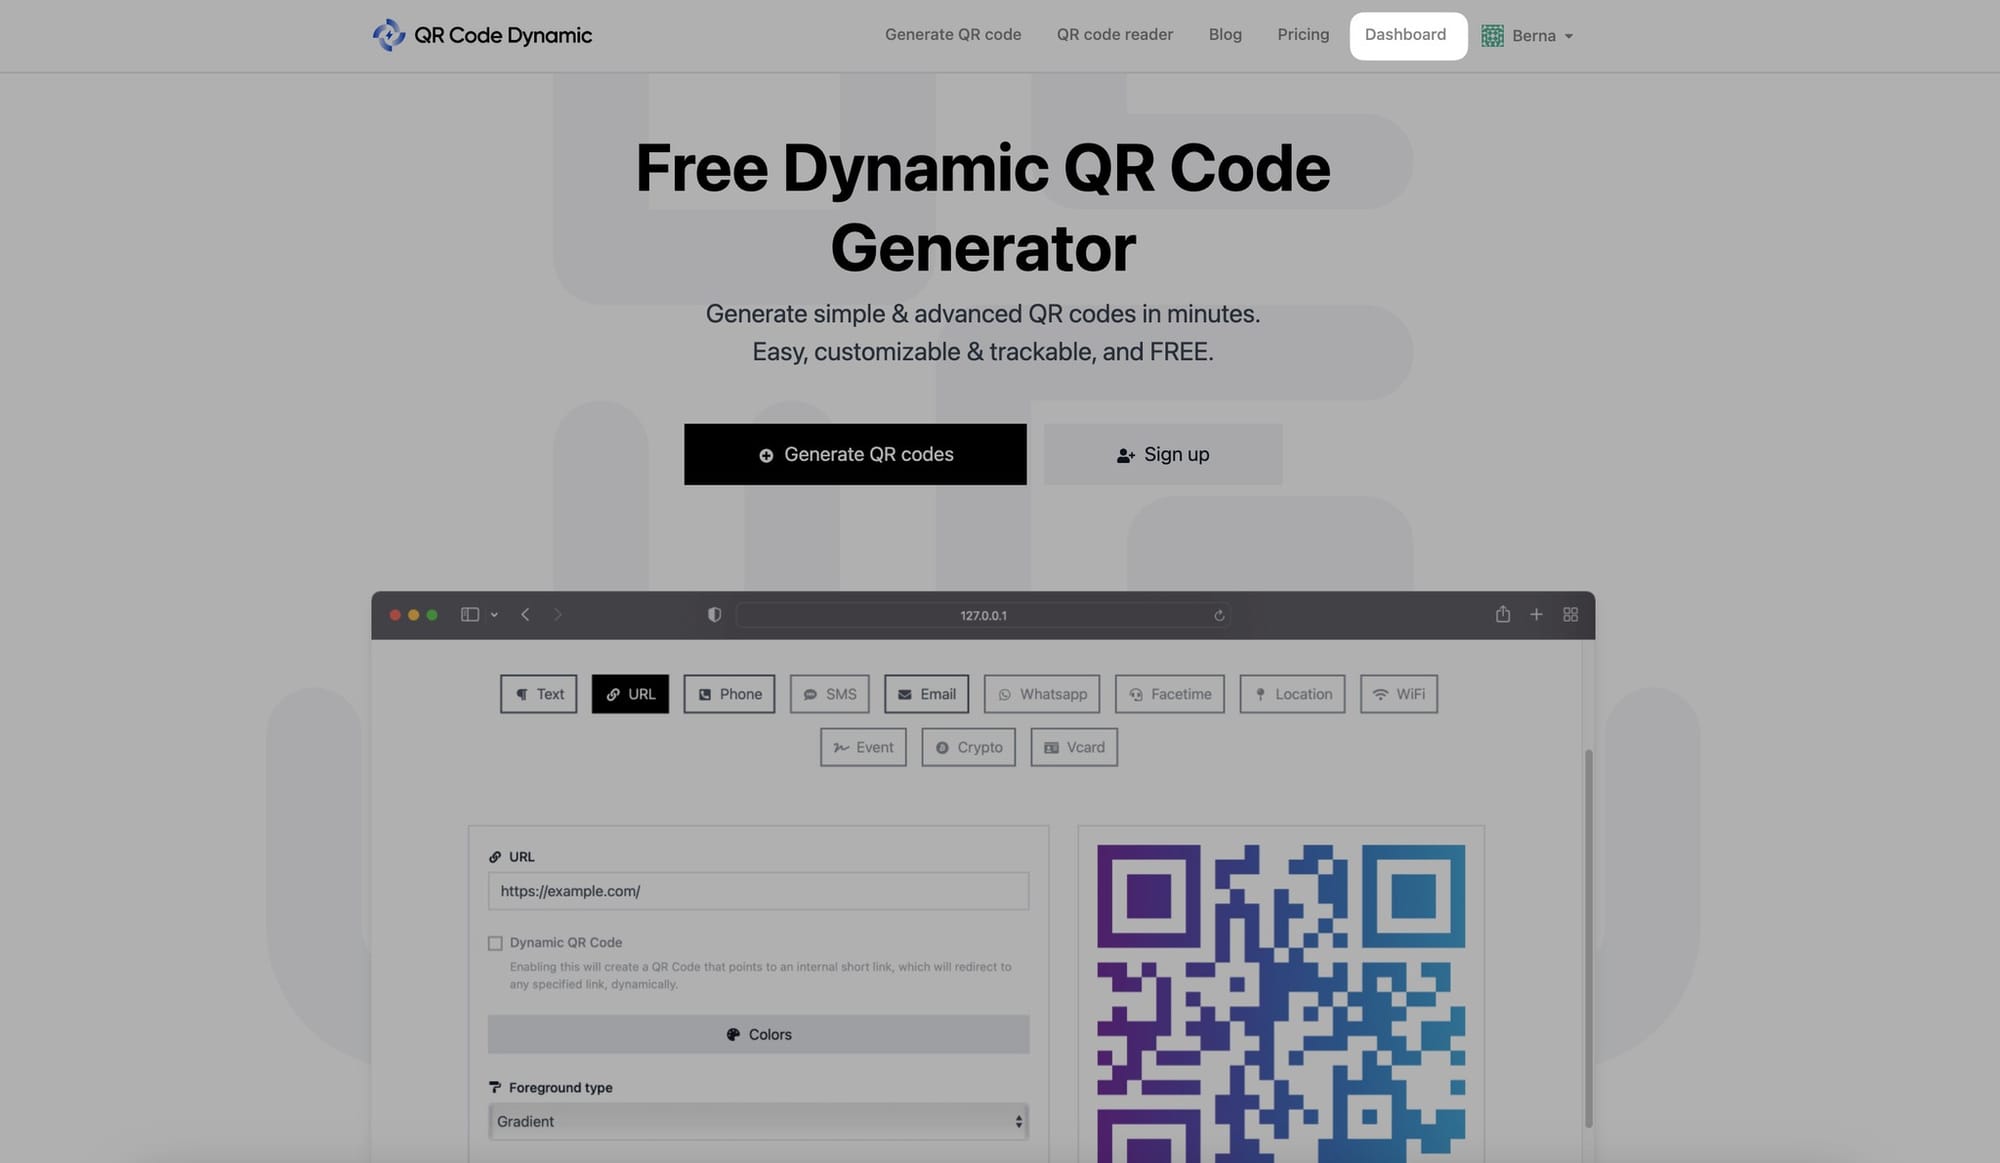
Step 1: If you haven't already, sign up and log in to your account. Select "Generate QR codes" from the home page.
Step 2: Choose the "Vcard" QR code type
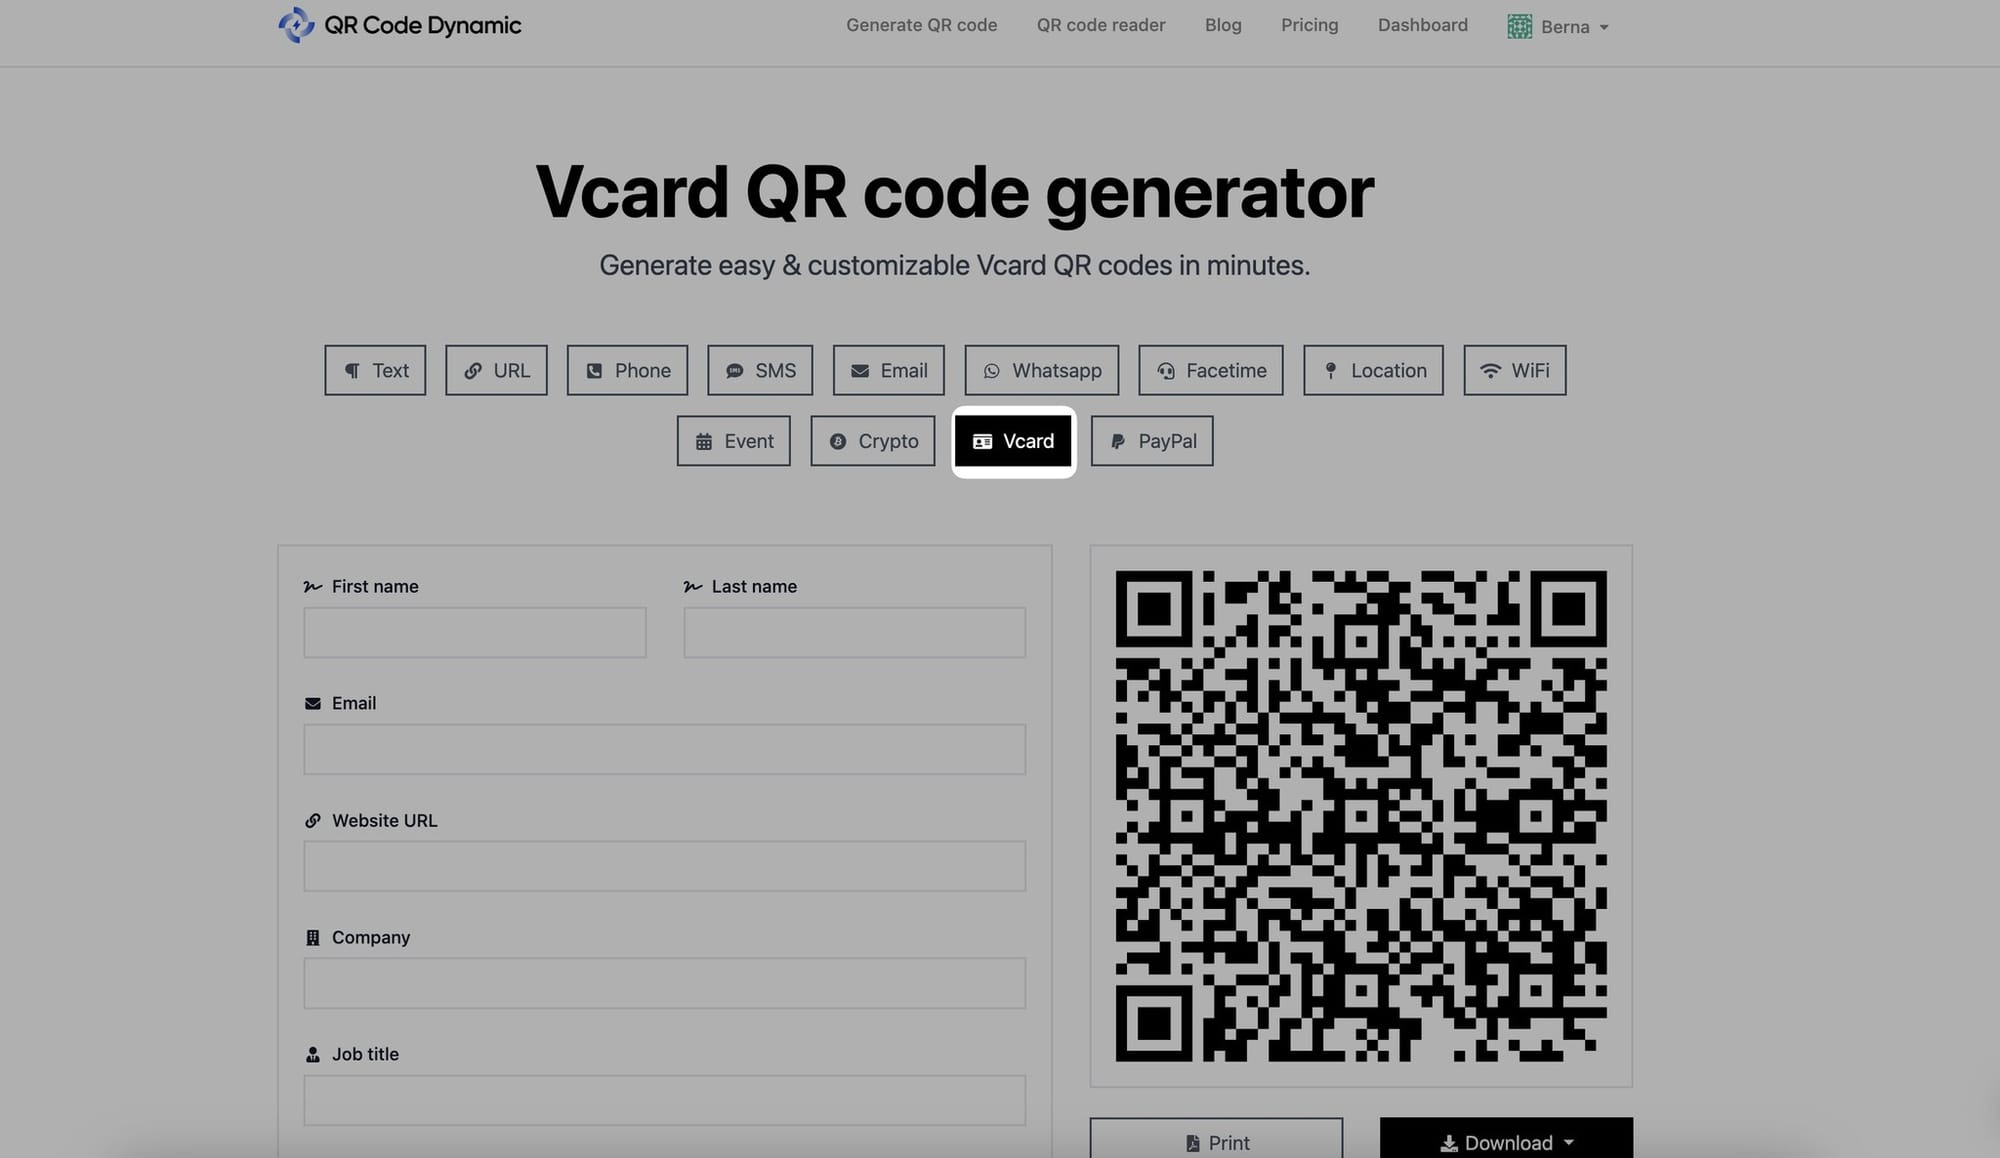
Choose the "Vcard" QR code type from the QR code list.
Step 3: Enter your name, phone, email, website URL, company & title

After selecting the Vcard QR code type, you will see designated fields for entering your contact information.
First, you can enter your first and last name, phone and email.
Then, go to the "Website URL" to add your website.
From the "Company" section, add your company, and from the "Job title" part, enter your title.
Step 4: Add birthday, address, and notes to your Vcard QR code

You can add your birthday details from the "Birthday" field.
Then, you can enter a detailed address by filling out the "Street address, City, ZIP, Region, and Country" fields.
Also, adding notes to your Vcard is possible by entering text into the "Notes" part.
Step 5: Add your number from "Phone numbers" and add your social accounts from the "Socials" part
Go to the "Phone numbers" part first and add your phone number by clicking the "Create" button.

Go to the "Socials" part and click on the "Create" button.
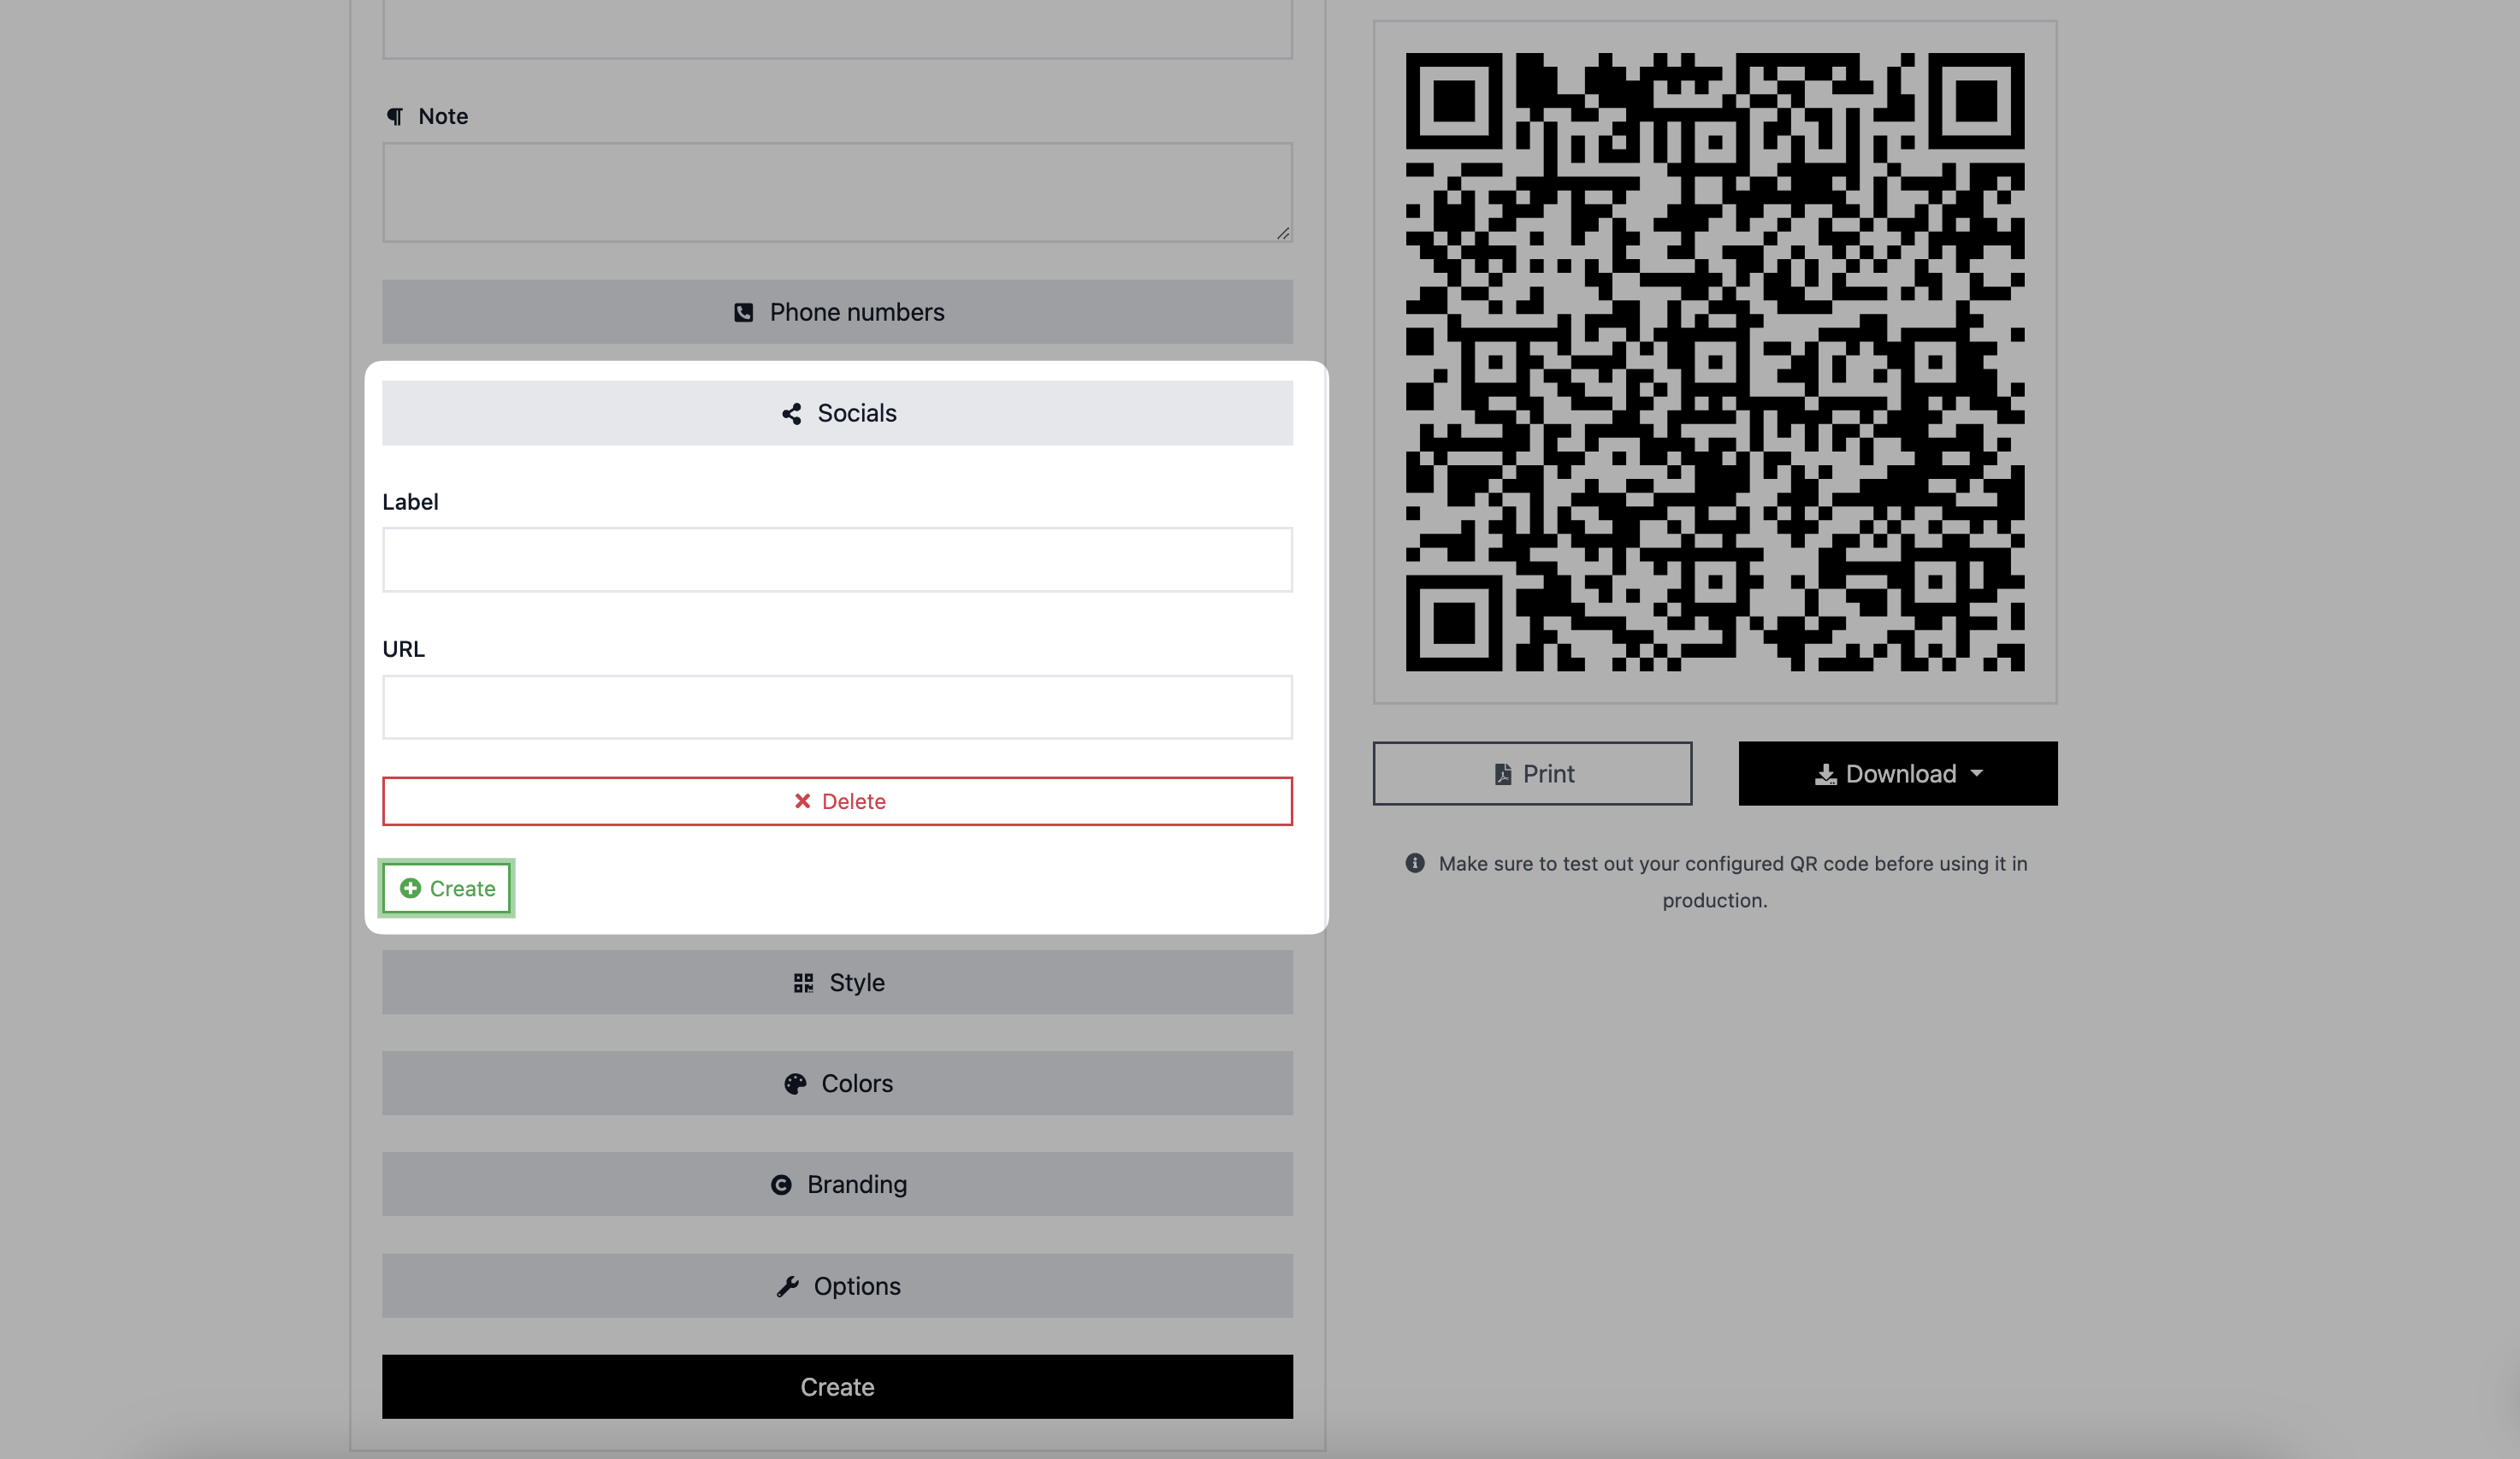
Add the social platform's label to the "Label" part and include a link to the "URL." You can add more than one platform by clicking the "Create" button again.
Step 6: Customize your Vcard QR code's look
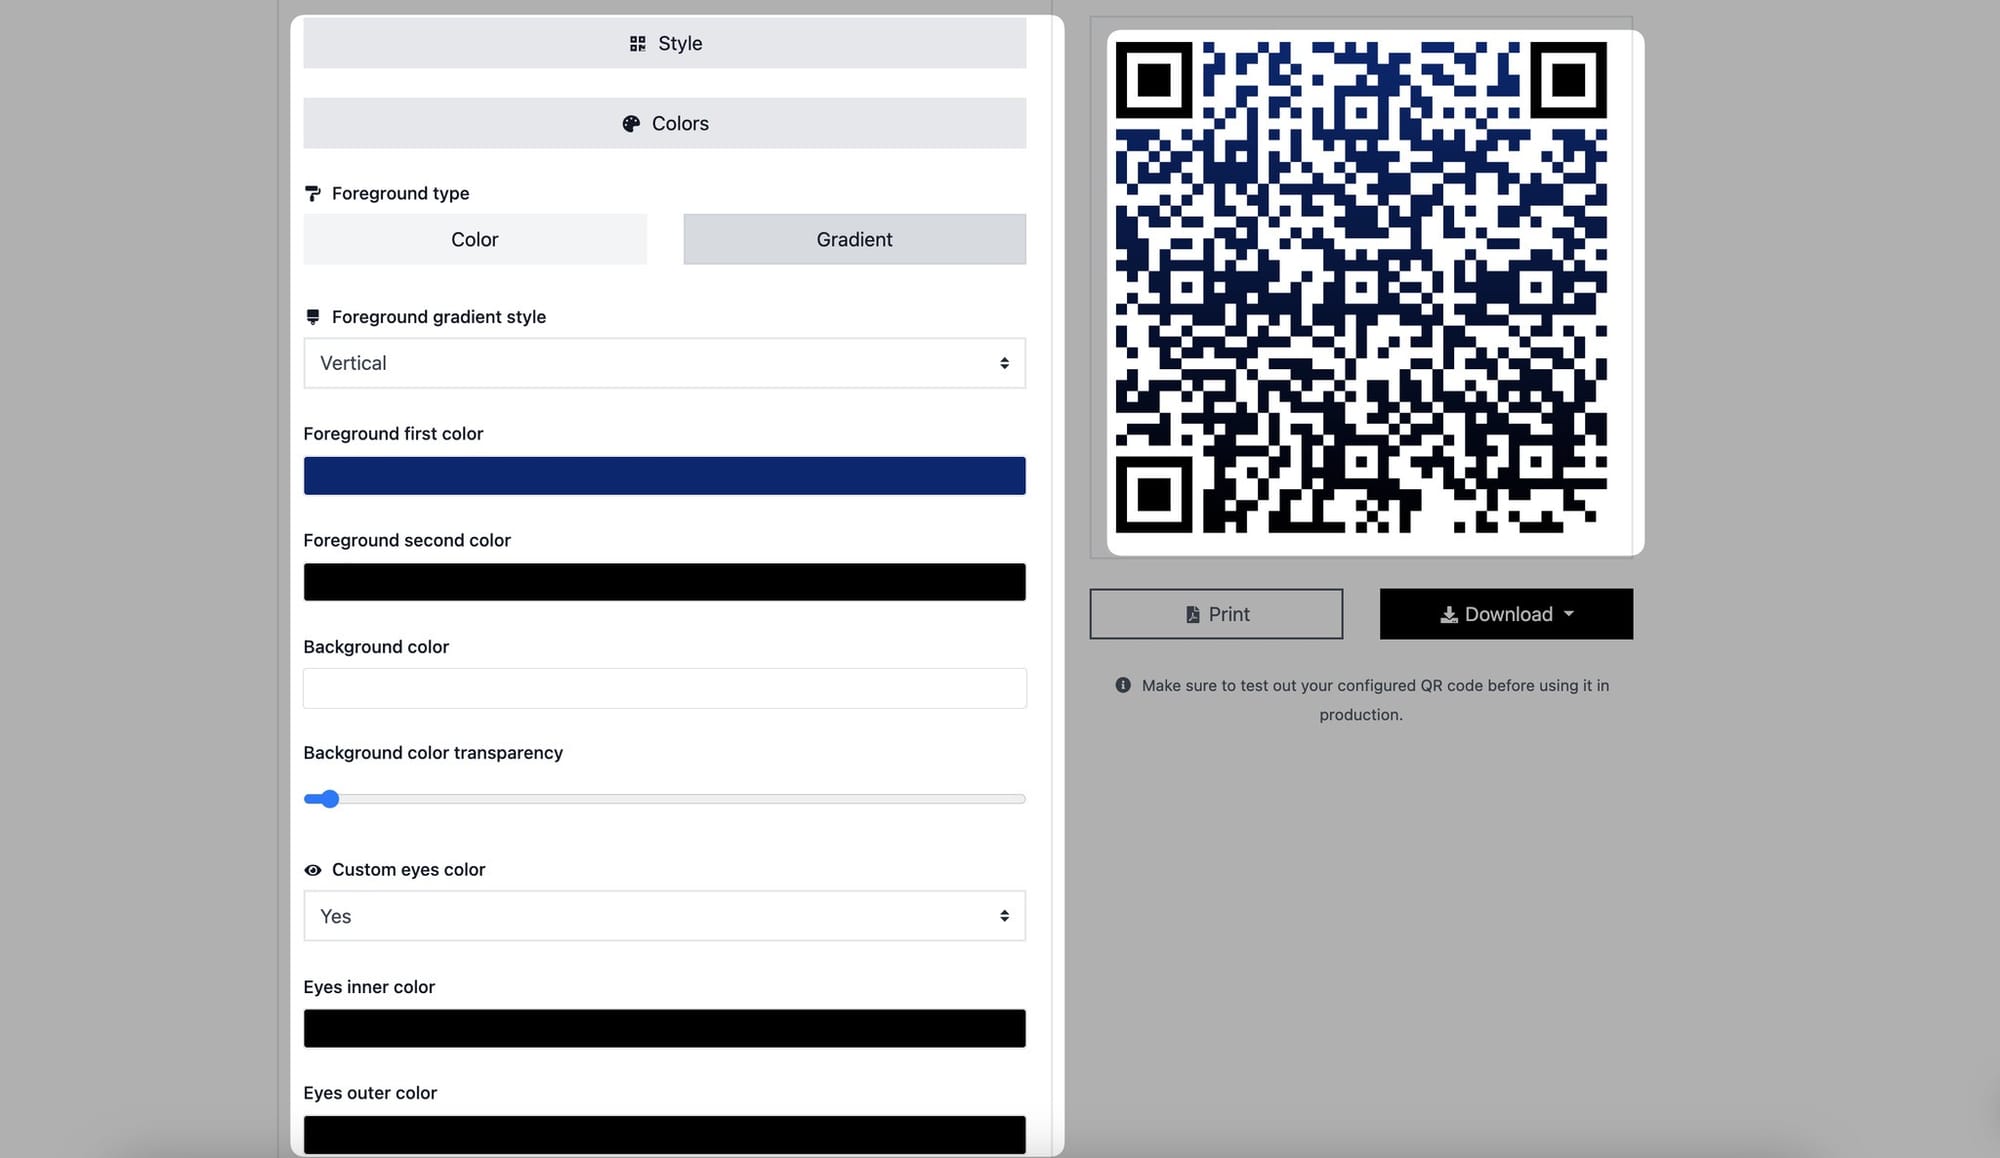
You can also customize the colors of your Vcard QR code.
To make your QR code stand out, choose square, dot, or round from the "Style" section.
The two foreground options are color and gradient. You can select the one that best meets your style choices.
Then, choose colors for the foreground and backdrop.
You can also change the color of your QR code's eyes. Change the color of the inner and outer eyes to make your QR code more appealing.
Step 7: Enter your logo in the "Branding" part, then proceed to the "Options" section to choose the size of your QR code
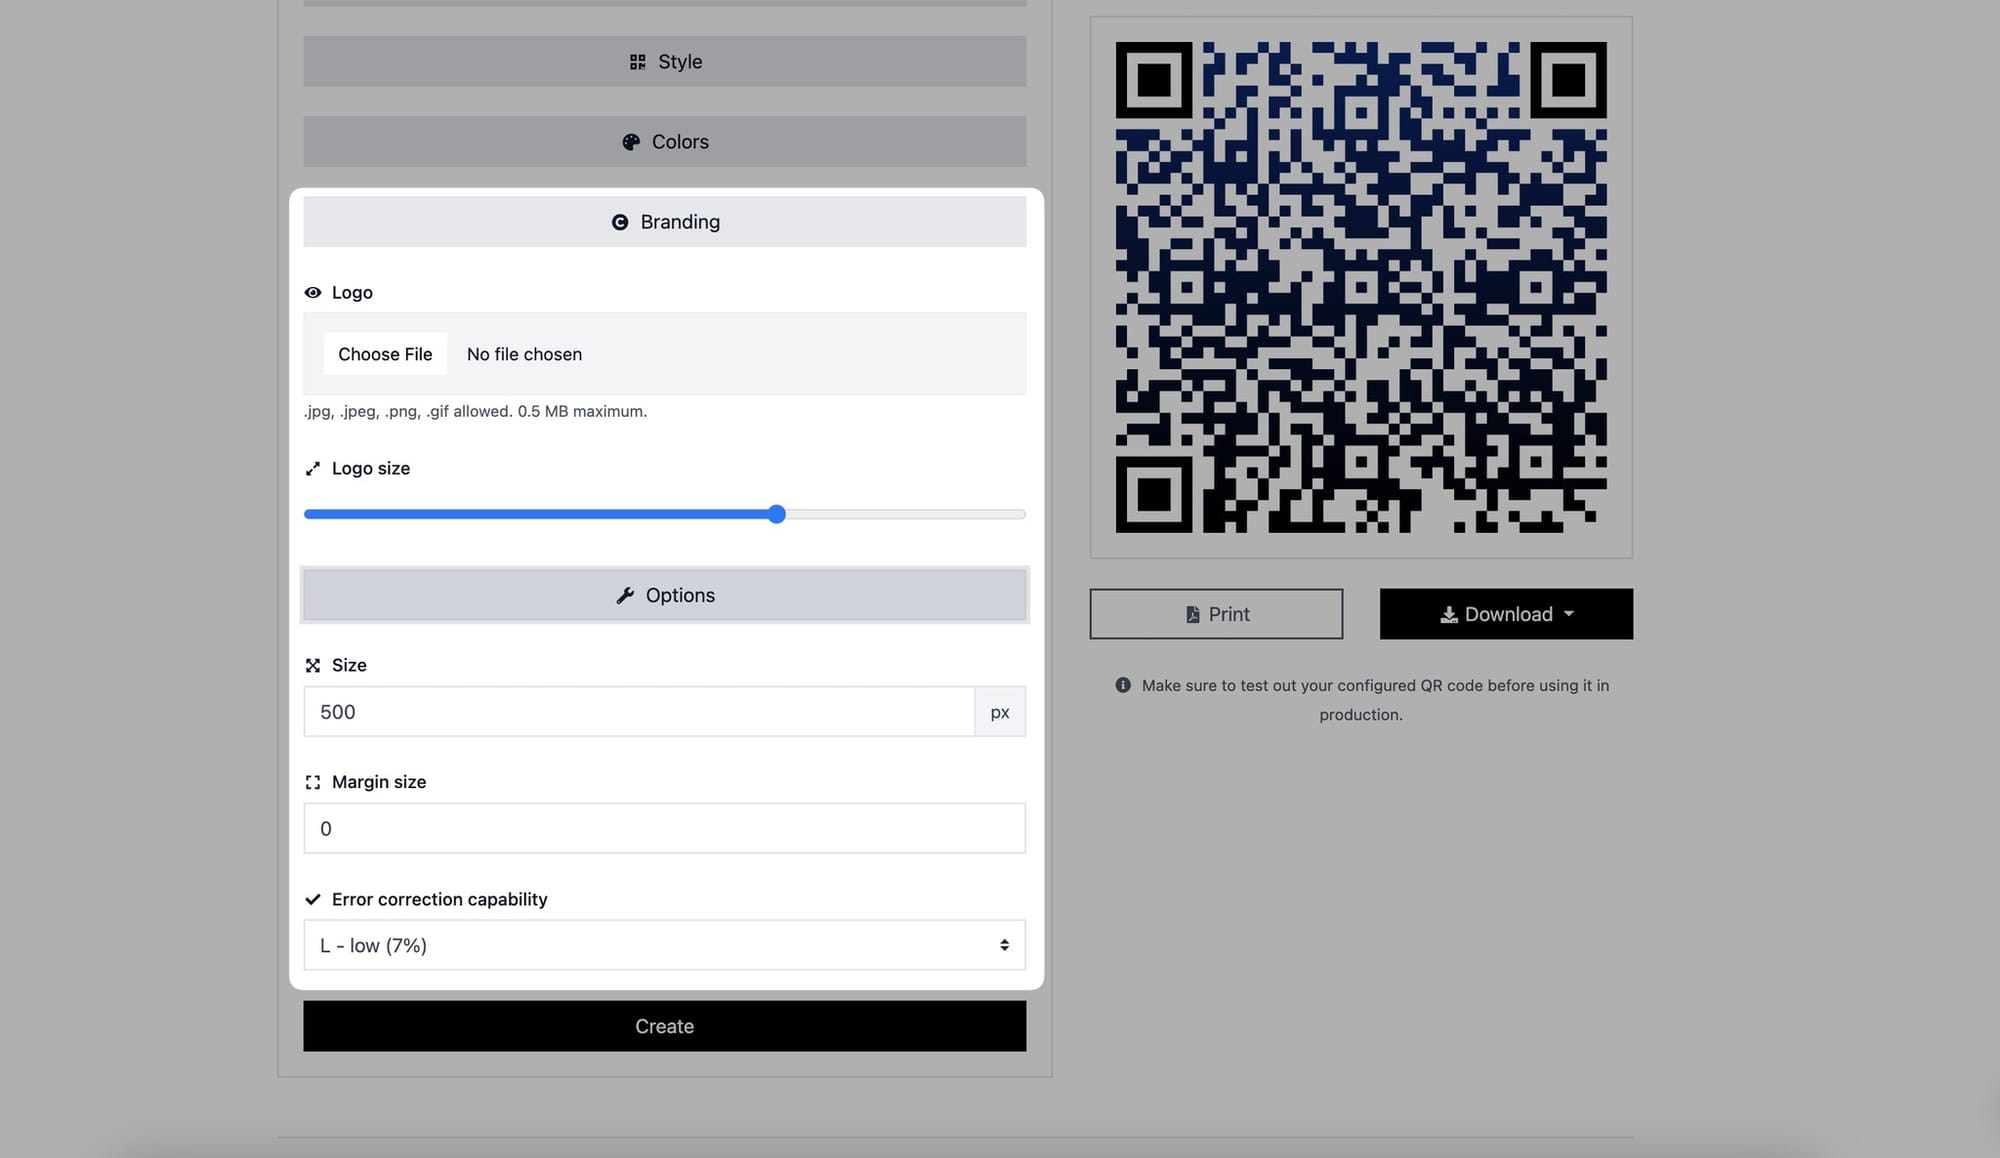
You can personalize your QR code by including your logo and modifying its size in the "Branding" section.
In the "Options" area, you can change the QR code's size, margin and set error-correction capabilities.
Step 8: Create, print, and download your Vcard QR code
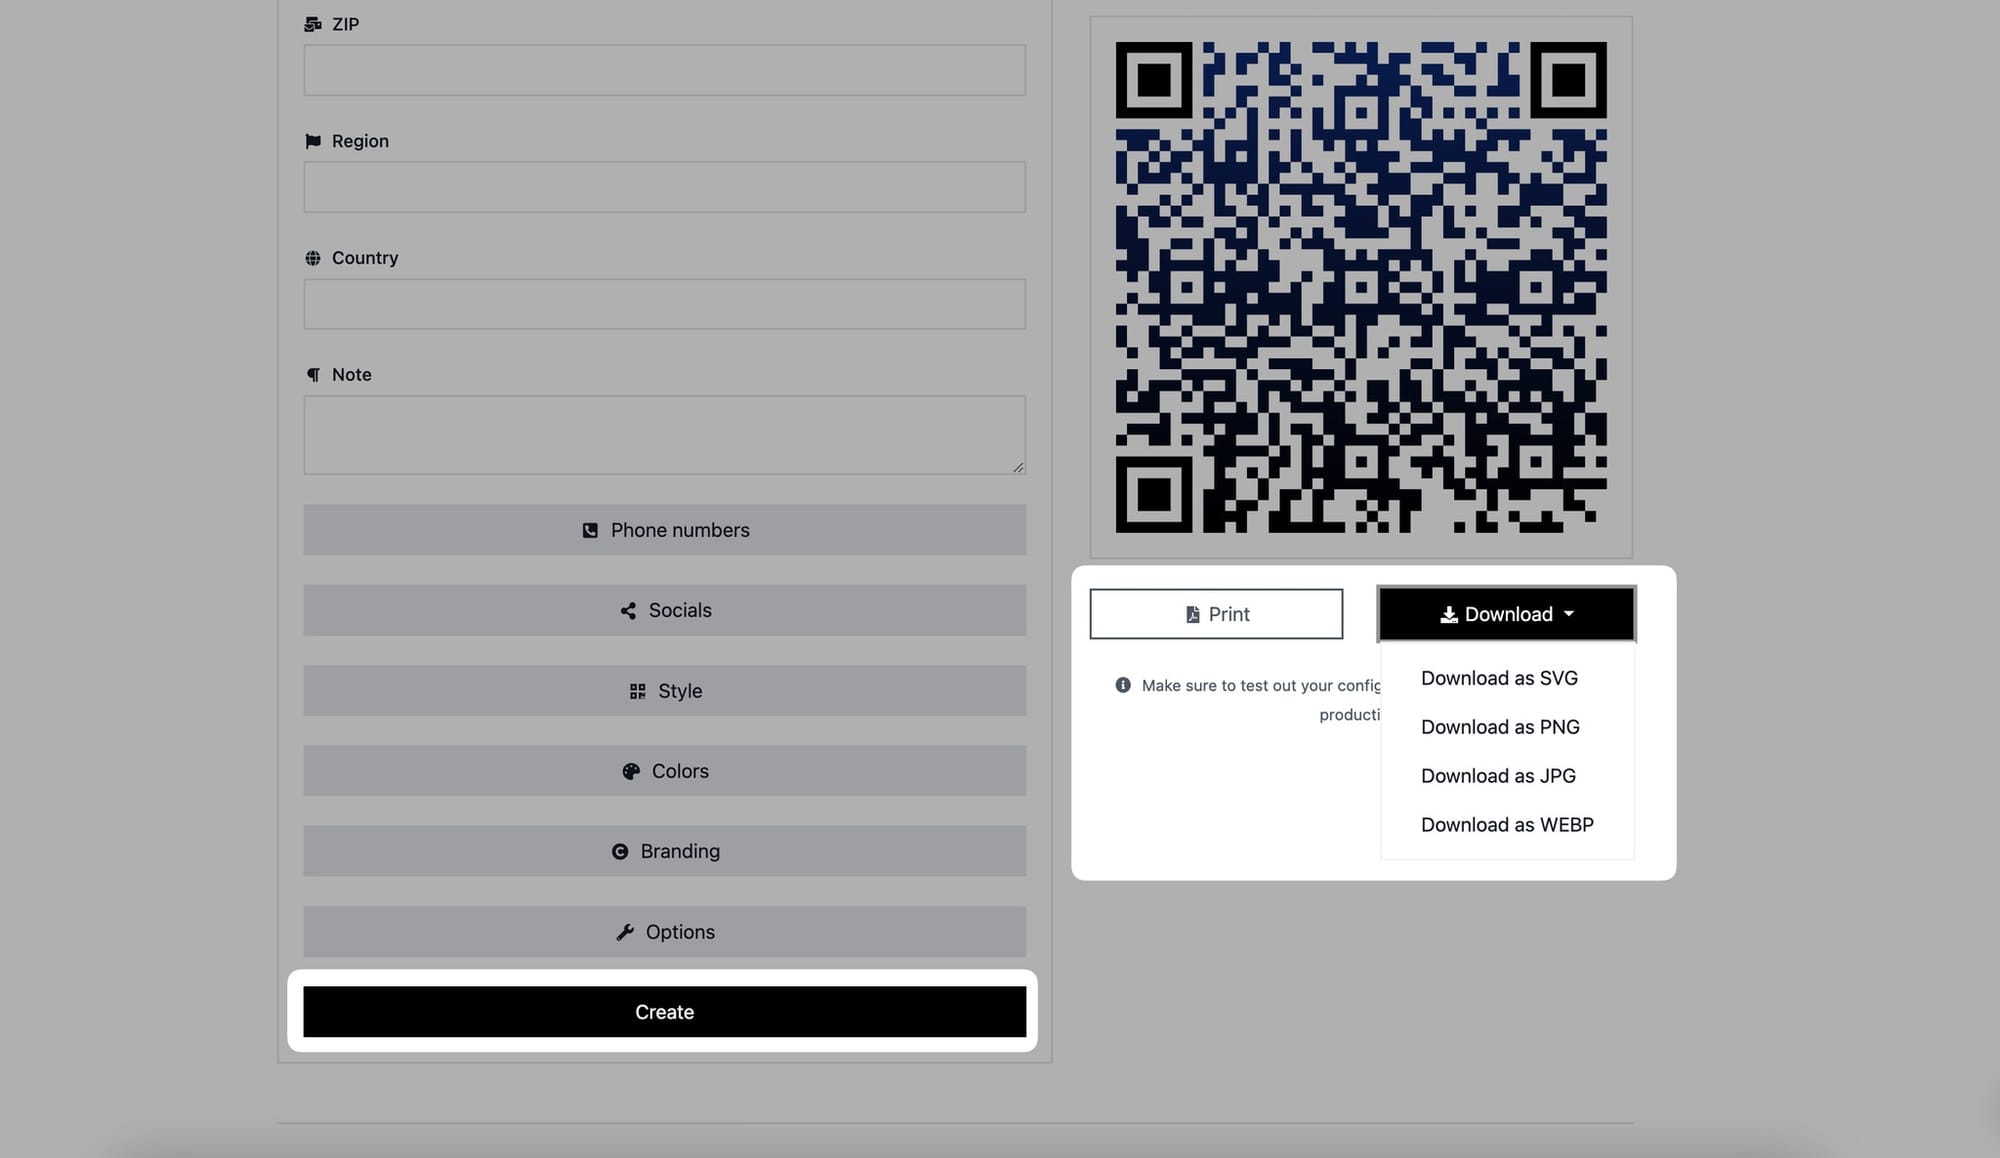
Click "Create" after you finish customizing your QR code. Then, print it out or download it as JPG, PNG, SVG, or WEBP if you want.
That is all for the Vcard QR code! You can now share your Vcard with others to quickly and conveniently provide your contact information.
Recipients can scan the Vcard QR Code to explore contact details and prompt the user to save them to their device's address book. It can make it easy for others to quickly access and store your contact information.
If you have any questions regarding this, feel free to contact us.