How to Connect a Custom Domain on QRCodeDynamic
Connecting a custom domain to your QR codes allows you to personalize the URL and enhance your branding. Using QRCodeDynamic, you can easily connect your own domain to ensure a seamless and professional experience for your users.
Let's learn how to connect a custom domain with this guide.
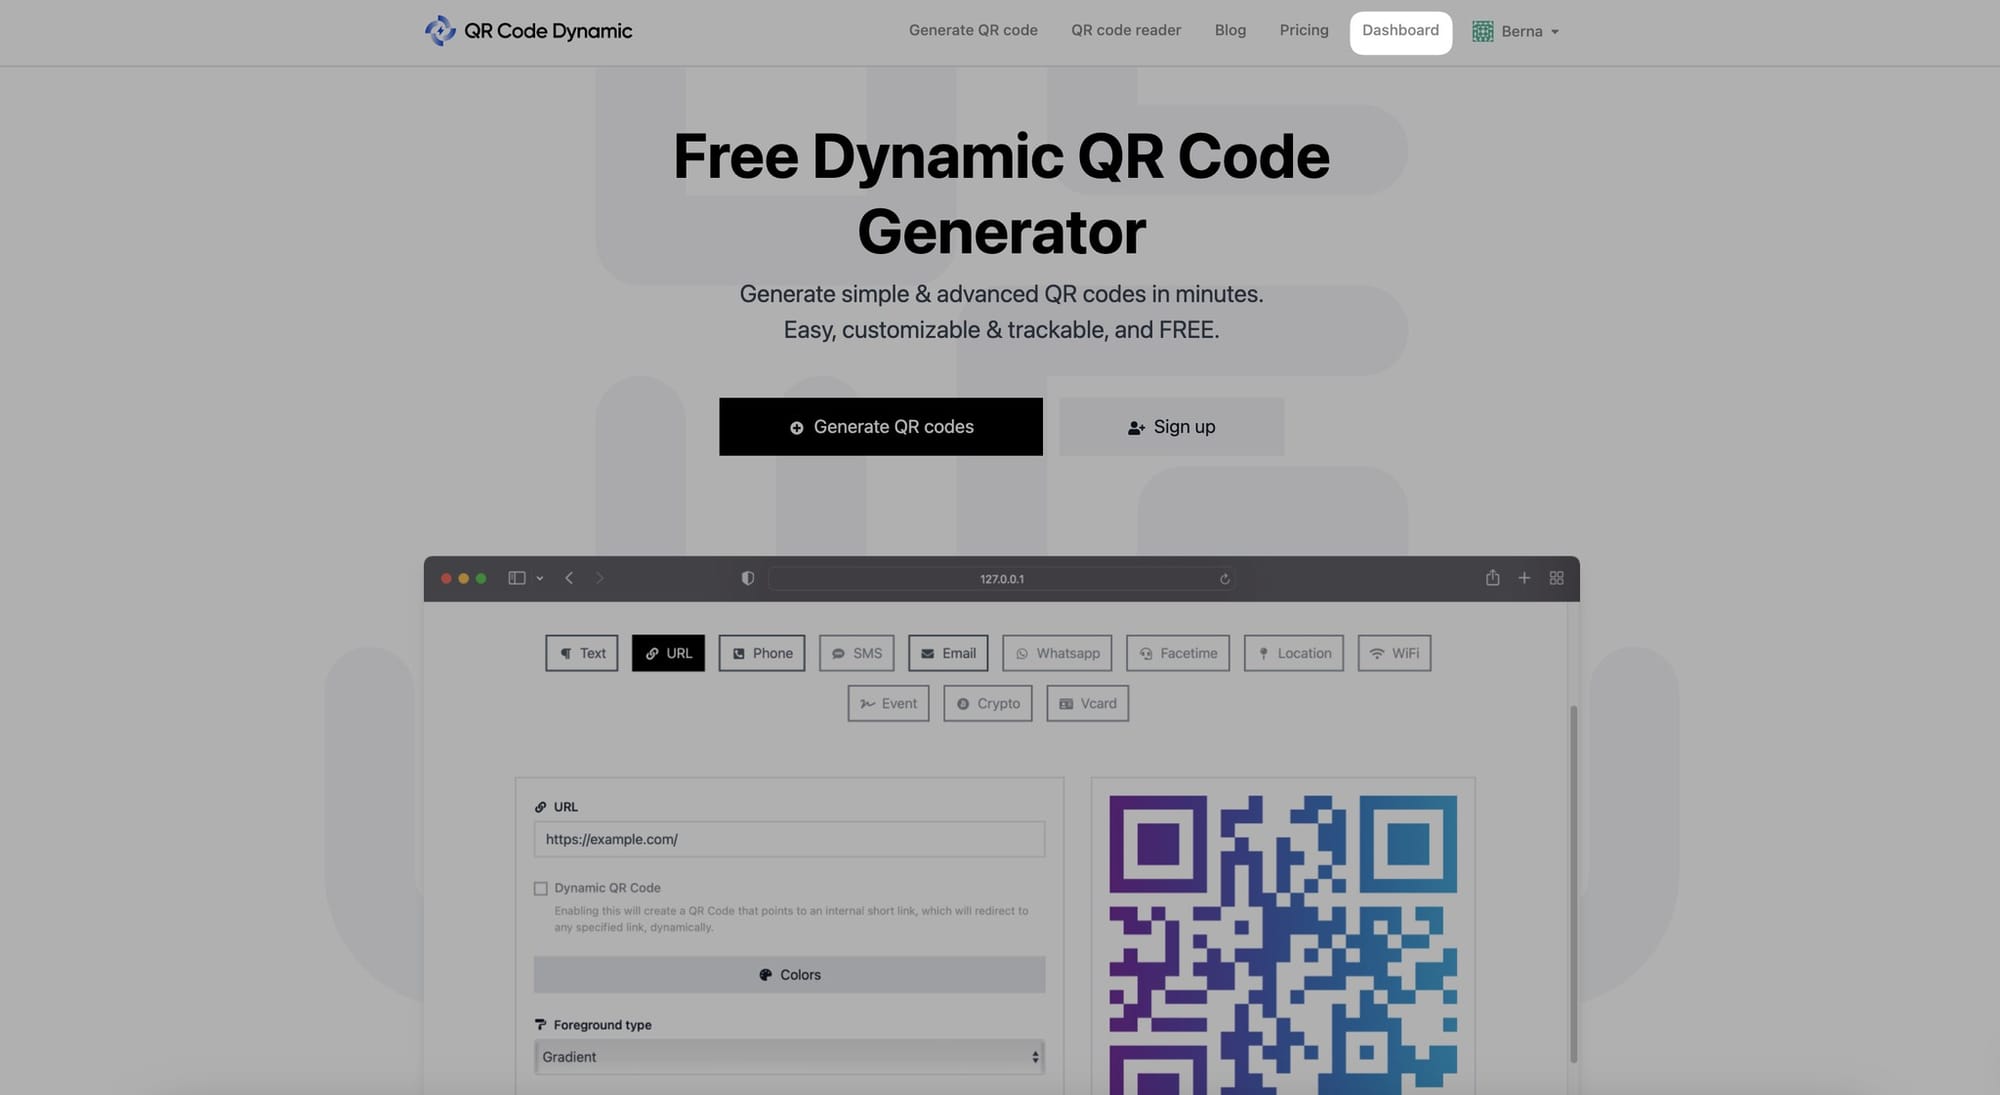
Step 1: Sign in to your account and go to the "Dashboard"

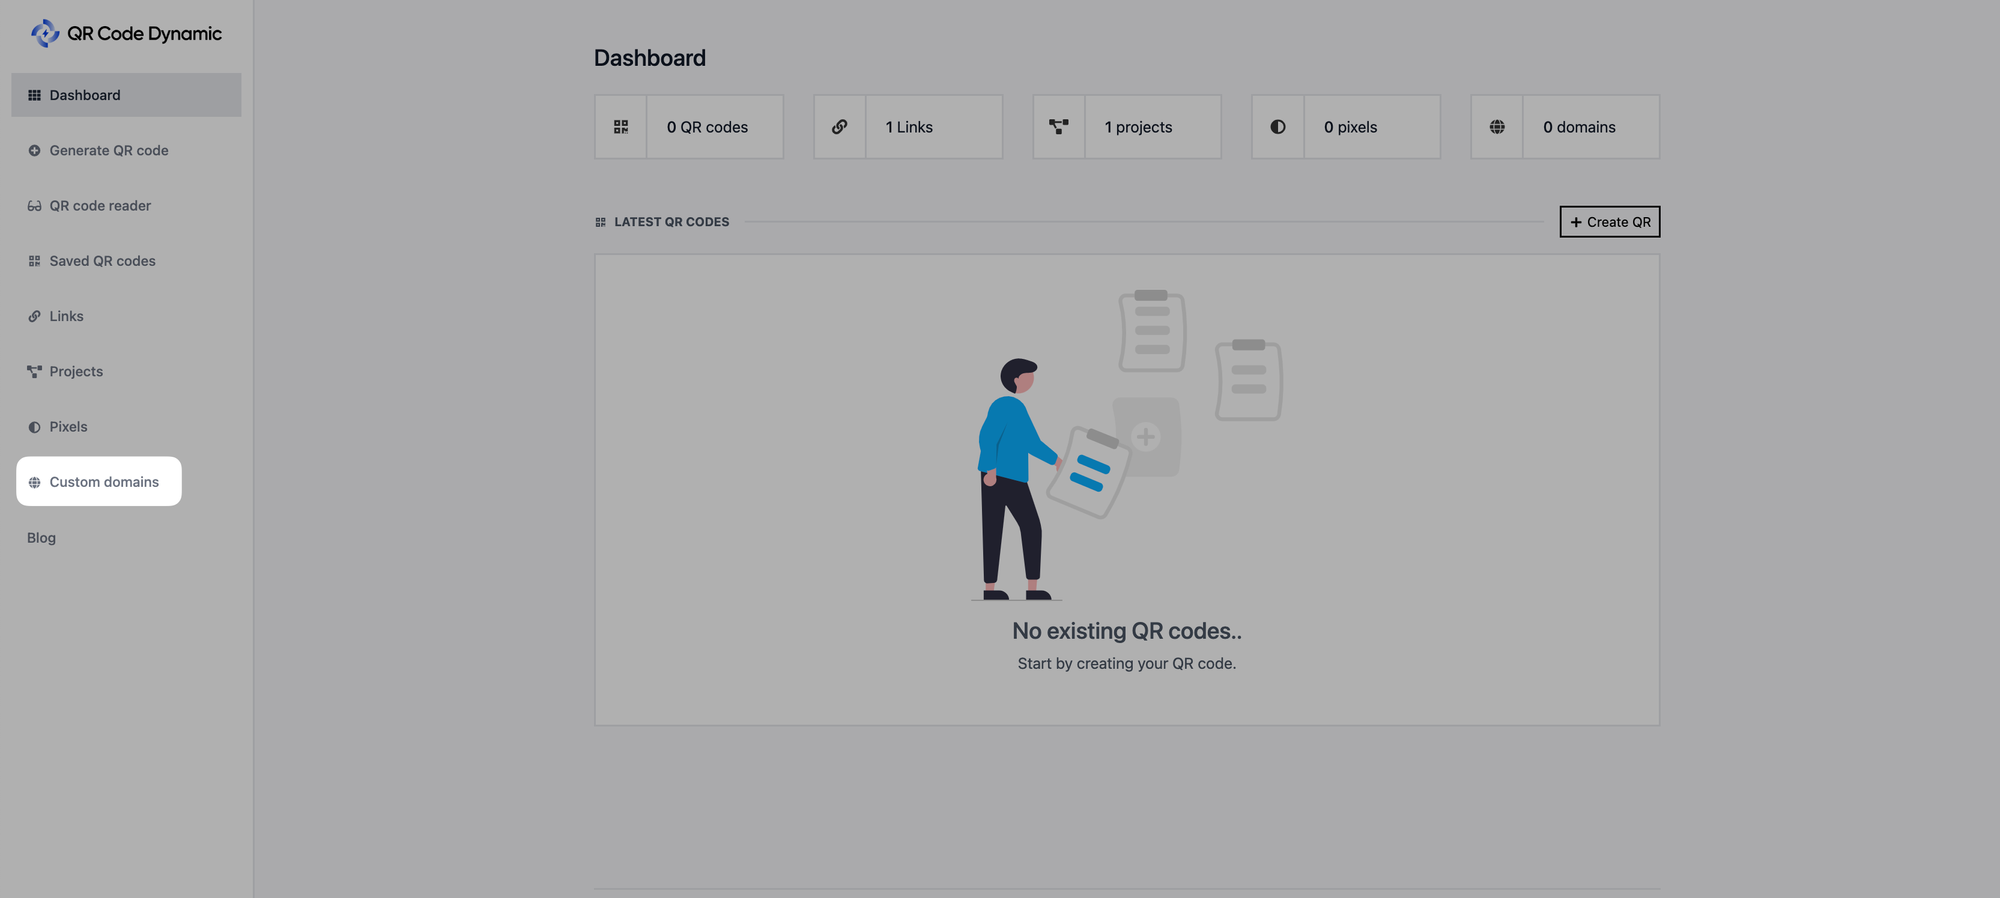
Step 2: Click "Custom domains" from the left side
From your dashboard, go to the "Custom Domains" page.

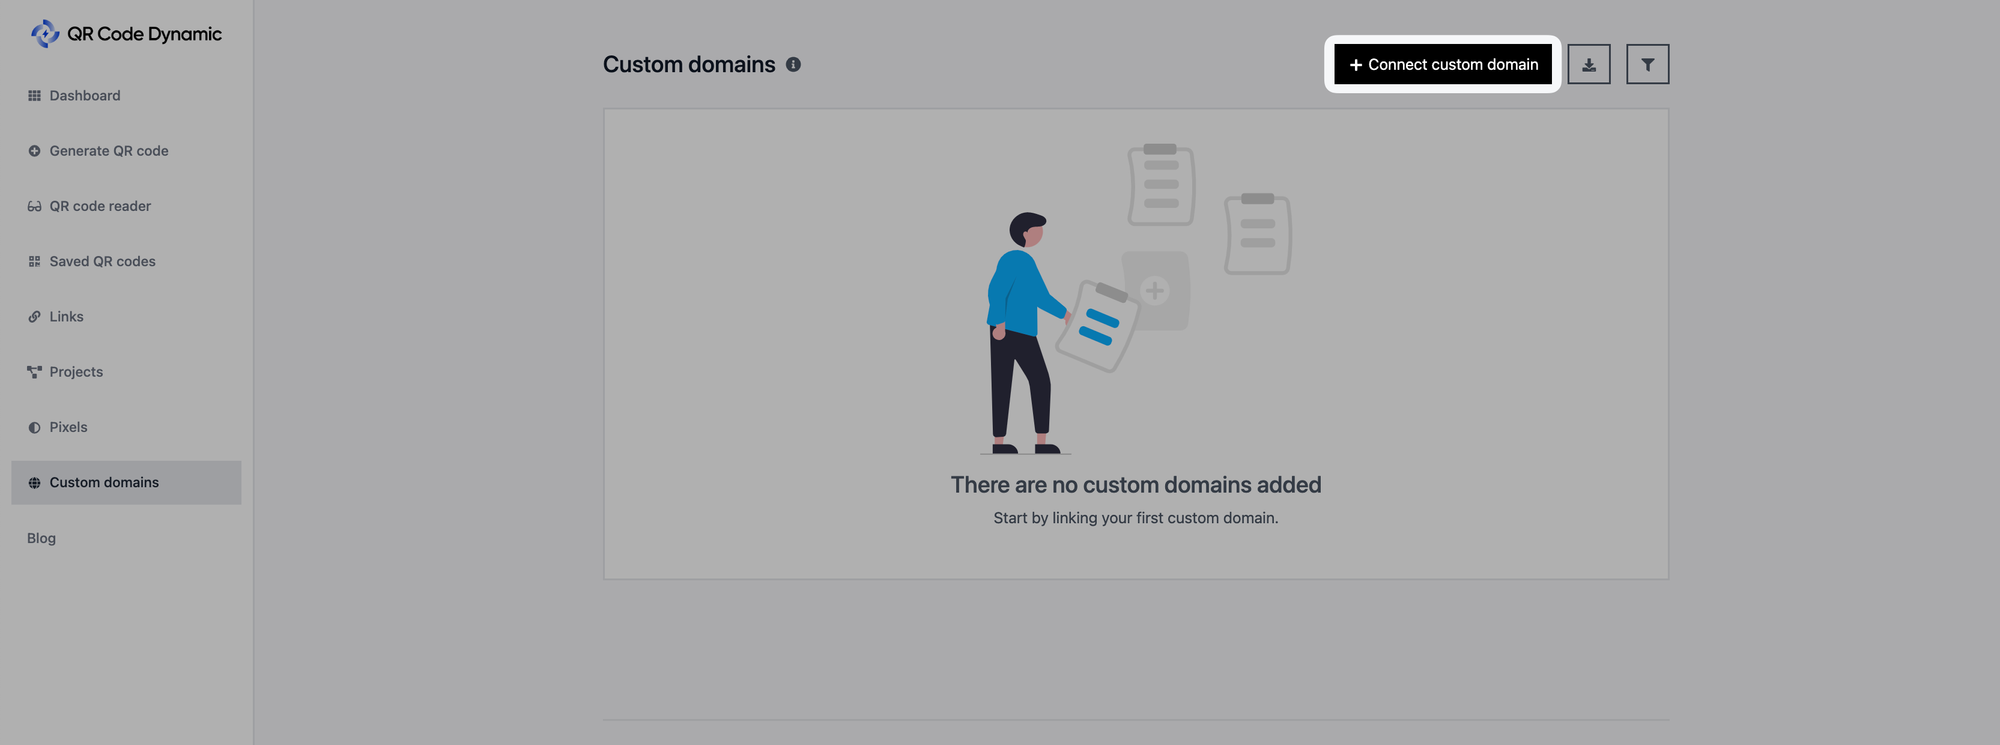
Step 3: Then click the "Connect custom domain" button

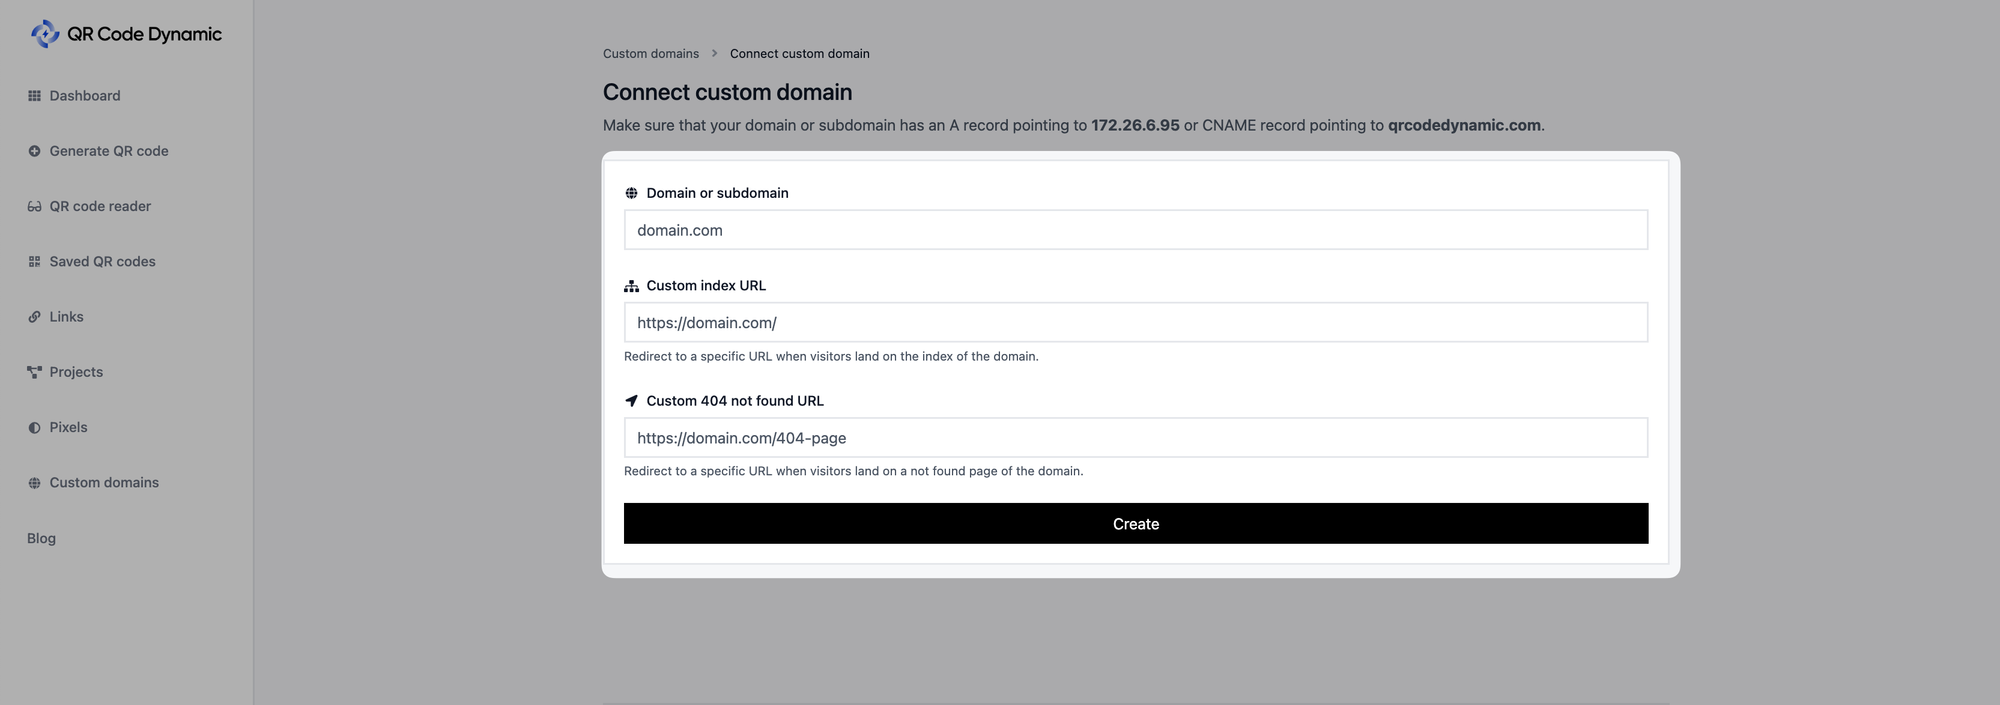
Step 4: Enter the details of the domain, custom index URL, and custom 404 URL

From the "Connect custom domain" page, you need to enter the necessary information.
To the "Domain or subdomain" field, you can enter your domain.
Then, from the "Custom index URL" part, add a custom index URL that redirects to a particular URL when visitors land on the index of the domain.
Finally, you can add your custom 404 URL to the "Custom 404 not found URL" section. This URL will redirect users to a particular URL when they land on a not found page of the domain.
When you finish adding these details click the "Create" button.
Step 5: Go back to your domain and configure your DNS settings
Access your domain registrar's website and locate the DNS settings for your custom domain.
Configure the necessary DNS settings.
This usually involves adding a CNAME that points to your website's domain from the DNS settings.
First of all, you should update the sub-domain DNS that you want to add a custom domain to qrcodedynamic.com as a CNAME record. Then you have to fill in the form below and send it. You will receive TXT records defined as emails within 24 hours.
When you log them in, the custom domain setup will be completed. If you have technical questions, please email us [email protected]
That's it! By following these steps, you can easily connect a custom domain!
If you need any help while connecting a custom domain, you can get in touch with us, and we can assist you.